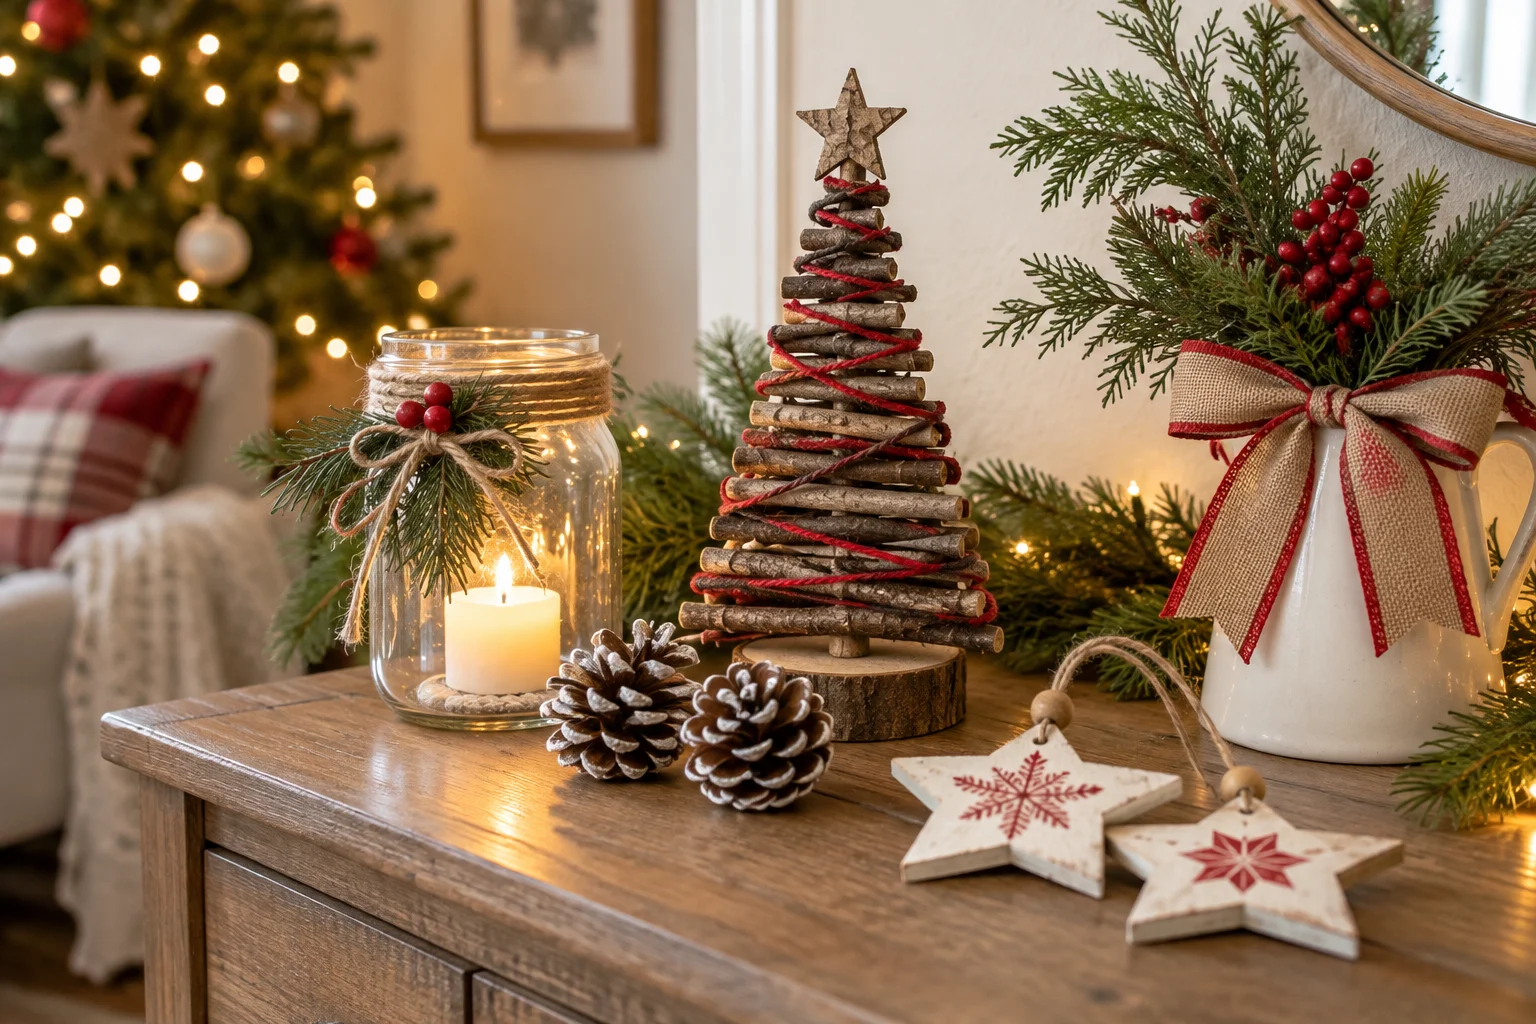
Creating a warm and festive home does not require expensive Christmas decorations. With simple Dollar Tree supplies, a few basic craft materials, and a little creativity, you can make decorations that look thoughtful and beautifully coordinated.
The secret is choosing a clear color palette and improving inexpensive materials with paint, ribbon, greenery, wood beads, and warm lighting. Small details can transform basic ornaments, jars, frames, trays, and craft shapes into decorations that feel personal rather than mass-produced.
These easy DIY Dollar Tree Christmas decorations include ornaments, wreaths, table displays, wall decor, miniature trees, garlands, and other beginner-friendly projects. You will also find practical material suggestions, styling tips, safety guidance, color palettes, and a complete shopping checklist.
More Christmas Decorating Inspiration
Quick List of Dollar Tree Christmas DIYs
- Wood-bead tassel ornaments
- Mini greenery wreath ornaments
- Layered ornament wreath
- Mason jar winter scenes
- Frosted glass candle holders
- Mini bottle-brush tree village
- Framed Christmas gift-bag art
- Yarn-wrapped cone trees
- Pool-noodle candy canes
- Wood-block Christmas presents
- Jingle-bell bead garland
- Stacked bowl snowman
- Christmas tray centerpiece
How to Make Dollar Tree Christmas Decor Look Expensive
Start with a clear plan before purchasing supplies. Choose two main colors, one metallic or natural finish, and one repeating texture. For example, forest green, cream, unfinished wood, and velvet ribbon can create a warm woodland look across several different projects.
Remove packaging, stickers, glitter, and decorative parts that do not support your chosen style. Basic pieces often look more refined after a coat of matte paint, a new ribbon, or the addition of natural-looking greenery. You do not need to use every item exactly as it appears on the shelf.
Repeat the same ribbon, paint colors, wood beads, or greenery in several decorations. This simple repetition helps inexpensive projects look like a coordinated Christmas collection rather than separate crafts.
One inexpensive base + matte paint + natural texture + coordinating ribbon + one festive detail
Helpful Dollar Tree Christmas Craft Guide
| Style, Area, or Decor Item | Best Pieces to Use | Why It Works |
|---|---|---|
| Christmas tree | Clear ornaments, beads, bells, ribbon, mini wreaths | Small coordinated projects make the tree feel personal without a large budget. |
| Holiday mantel | Cone trees, framed art, greenery, flameless candles | Different heights create an attractive focal point without excessive clutter. |
| Dining table | Tray, glass vases, ornaments, greenery, LED candles | A contained arrangement is affordable, movable, and easy to adjust before meals. |
| Front porch | Wreath forms, outdoor ribbon, oversized candy canes | Large shapes remain visible from the street and create impact with fewer pieces. |
| Small apartment | Mini trees, ornaments, framed art, compact trays | Smaller decorations add holiday character while preserving useful floor space. |
| Beginner project | Gift bags, frames, ribbon, beads, fillable ornaments | Simple materials require minimal cutting and can be customized easily. |
Easy and Affordable DIY Dollar Tree Christmas Decorations
1Make Wood-Bead Tassel Ornaments
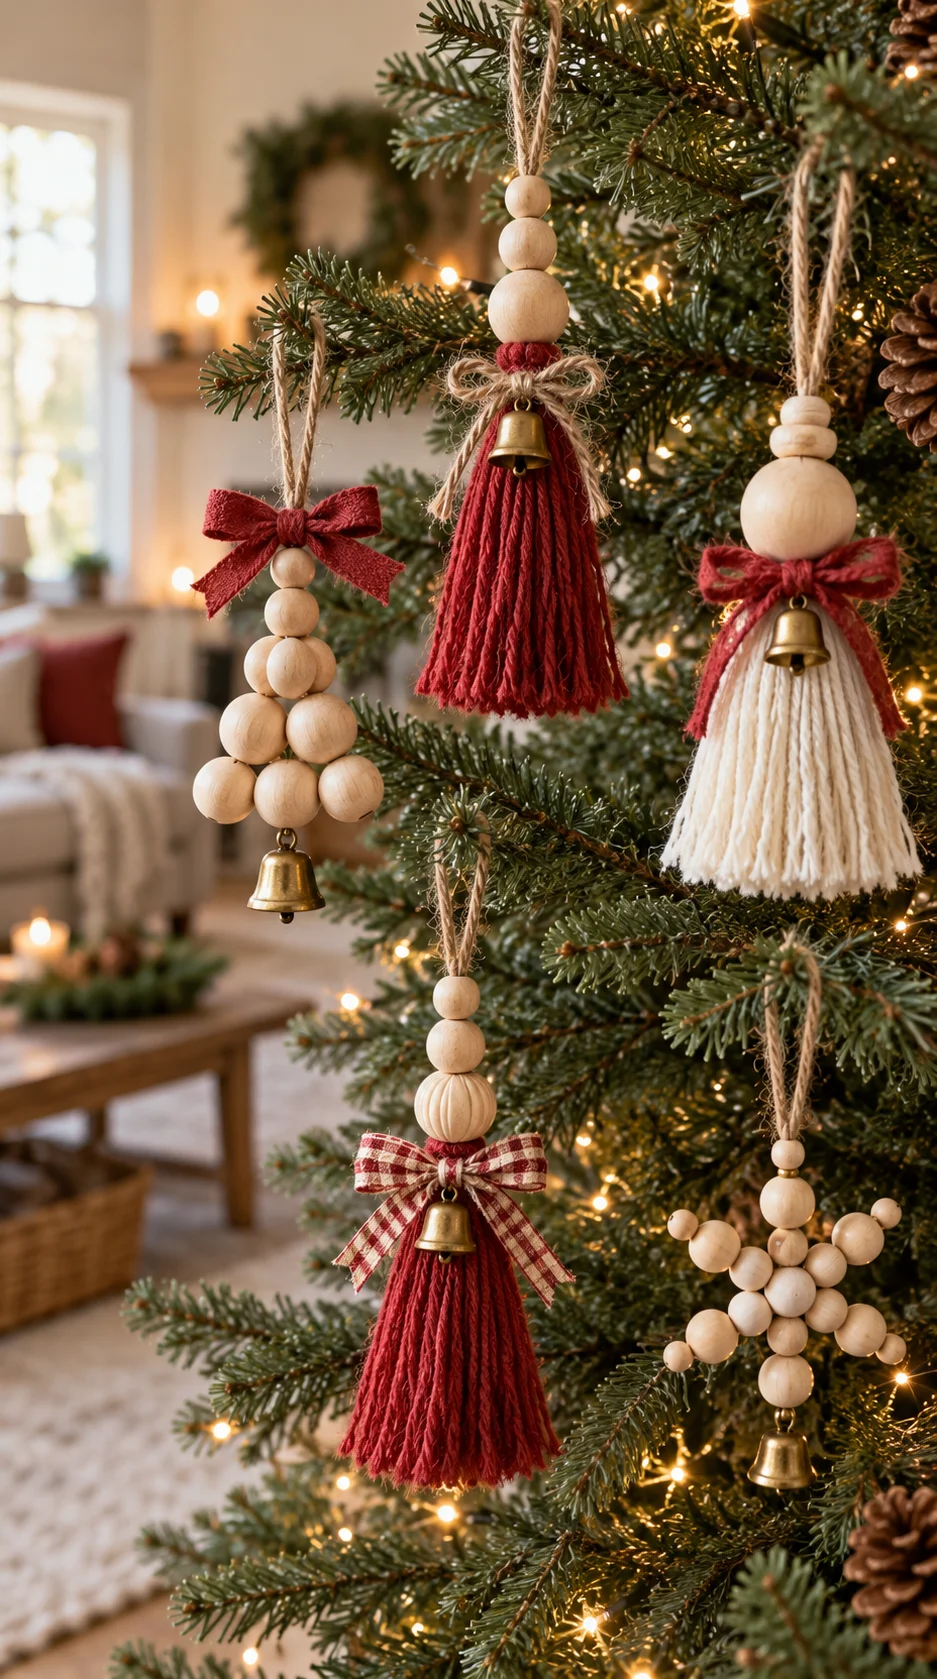
Thread unfinished wood beads onto jute cord, thin ribbon, or sturdy craft string. Alternate two bead sizes, tie a loop at the top, and finish the bottom with a small yarn tassel, bell, wooden shape, or ribbon bow.
Leave the beads natural for a farmhouse tree, paint them in alternating colors, or lightly dry-brush them with white paint for an aged finish. Repeat the same two or three colors across the entire set so the handmade ornaments feel coordinated.
Amazon find: Unfinished Wooden Craft Beads
A mixed-size bead set provides enough material for ornaments, garlands, tassels, and gift decorations in one coordinated finish.
2Create Mini Greenery Wreath Ornaments
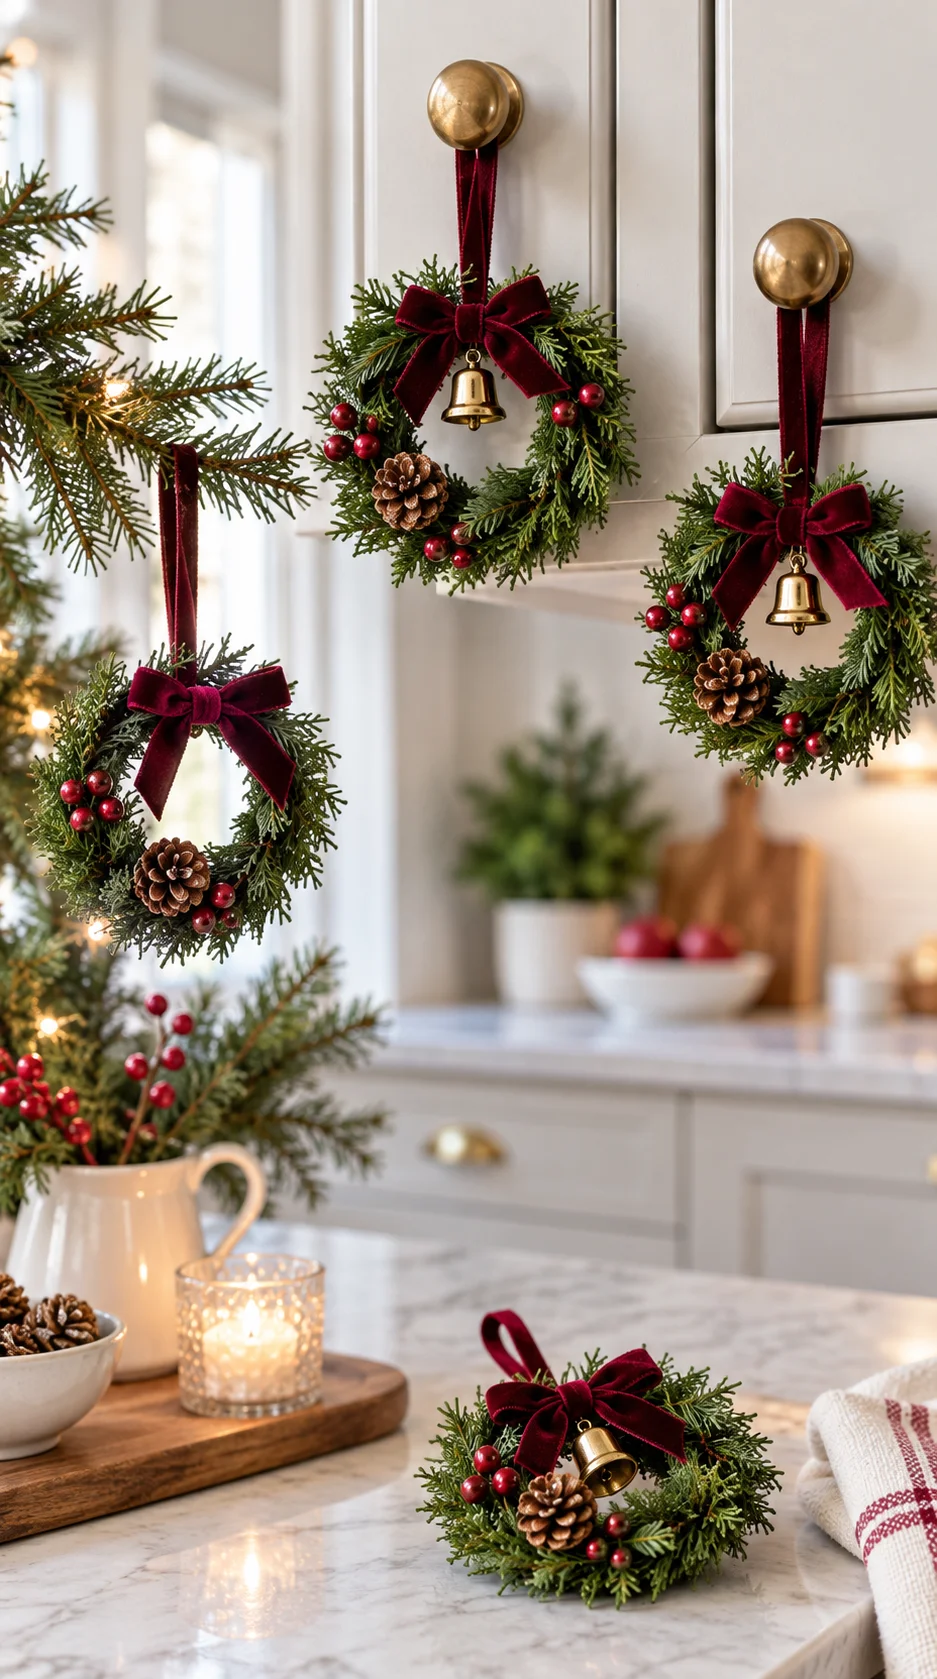
Use small craft rings, plain shower-curtain rings, or flexible wire as the base for these miniature wreaths. Wrap each ring with narrow faux greenery and secure the ends with floral wire or small dots of hot glue.
Add a tiny velvet bow, wood bead, bell, pinecone, or berry cluster at the bottom. Hang the finished wreaths on the Christmas tree, cabinet knobs, dining chairs, wrapped gifts, or a simple branch display.
3Build a Layered Ornament Wreath
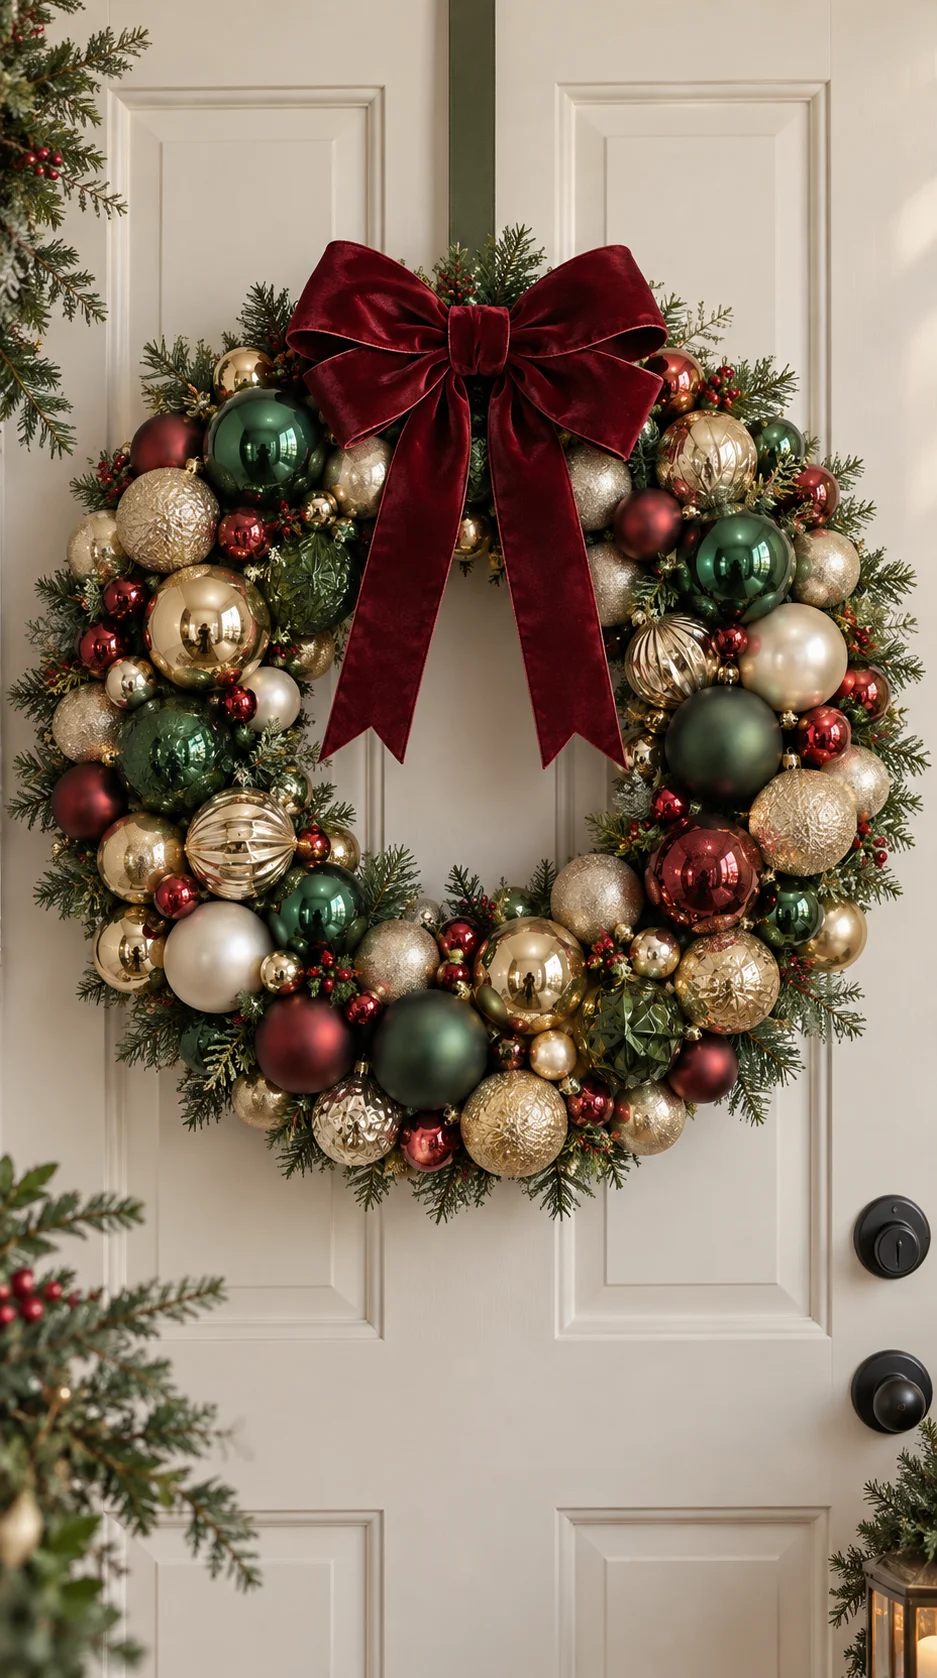
Begin with a wire or foam wreath form and attach shatterproof ornaments around the outer and inner edges. Add a second layer of smaller ornaments to cover visible gaps, placing matte, shiny, and textured finishes throughout the wreath.
Limit the palette to three or four colors for a polished appearance. Finish the wreath with wired ribbon, a velvet bow, faux greenery, or a few bells, but avoid adding so many accents that the ornaments disappear.
Amazon find: Shatterproof Christmas Ornament Set
A coordinated set with several sizes and finishes makes it easier to create a full wreath while covering small spaces between ornaments.
4Design Mason Jar Winter Scenes
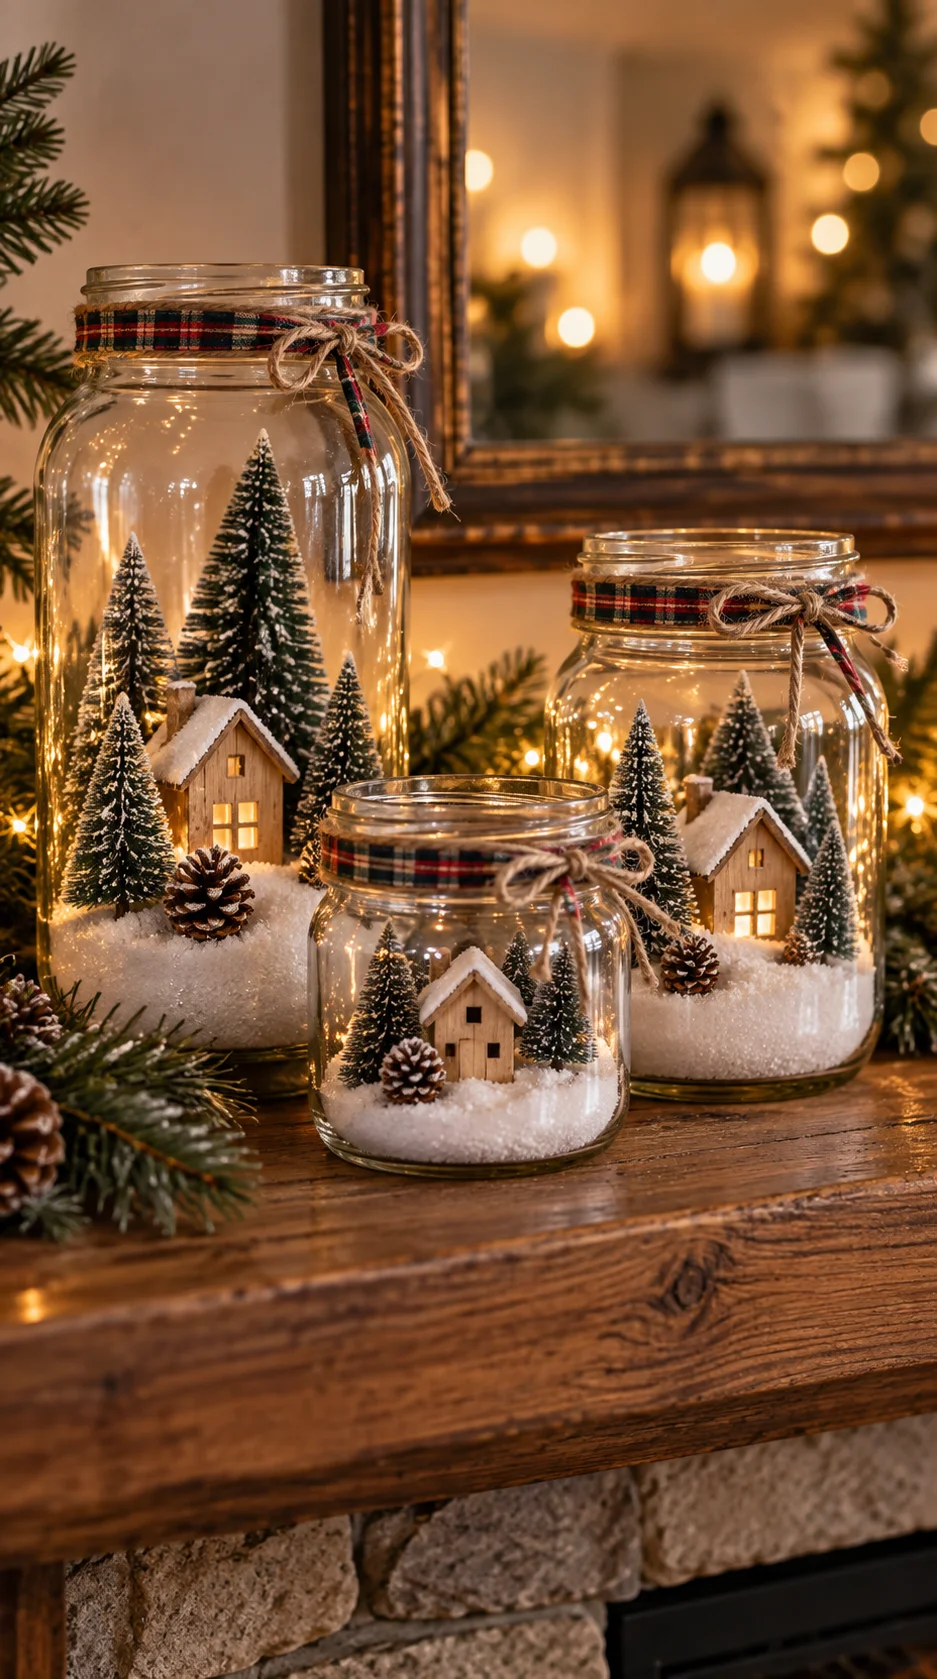
Add a shallow layer of artificial snow or coarse salt to a clean, dry jar. Arrange a miniature bottle-brush tree, small wooden house, pinecone, or woodland figure inside, using long tweezers if the opening is narrow.
Tie ribbon or jute around the jar rim and place a battery-operated light behind the scene for a gentle glow. Create three jars in different heights and group them together on a mantel, shelf, windowsill, or entry table.
5Turn Glass Vases Into Frosted Candle Holders
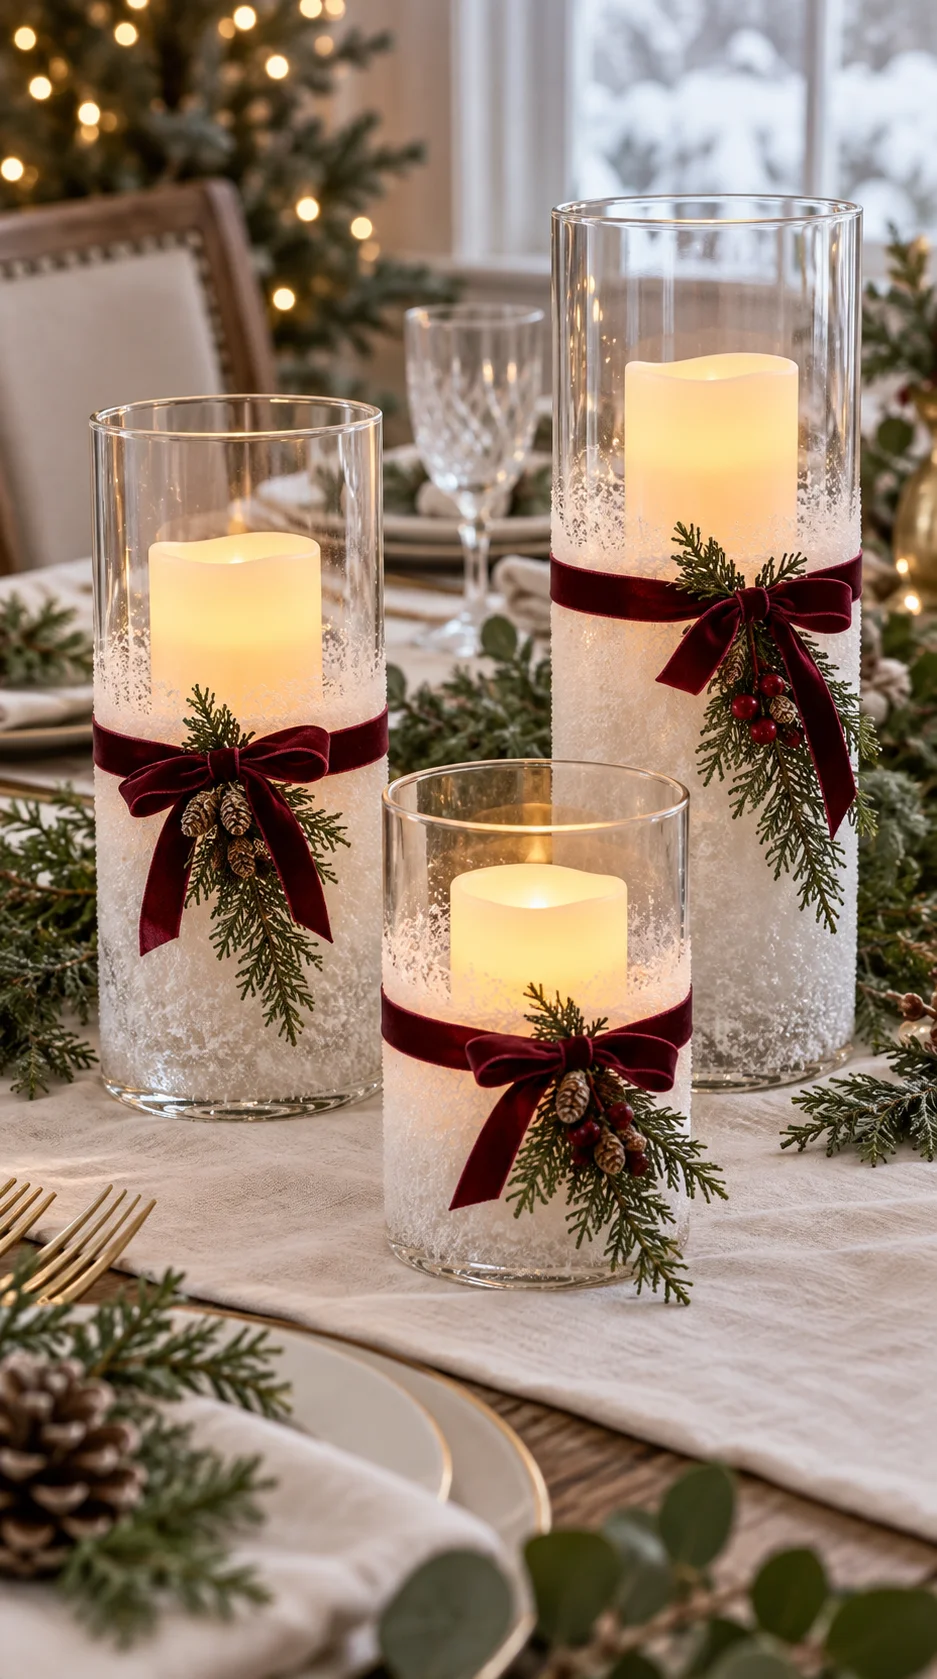
Apply a light coat of frosted-glass spray or dab translucent craft paint onto the outside of plain glass vases. For a snowy texture, brush a thin layer of decoupage medium around the lower half and sprinkle it with coarse decorative snow.
Tie a narrow ribbon around each vase and tuck in a small evergreen sprig. Arrange three different heights together and place warm-white flameless candles inside for an elegant display that works throughout winter.
Amazon find: Warm-White Flameless Candles
Battery-operated candles provide a soft glow without exposing paint, ribbon, faux snow, or greenery to an open flame.
6Arrange a Mini Bottle-Brush Tree Village
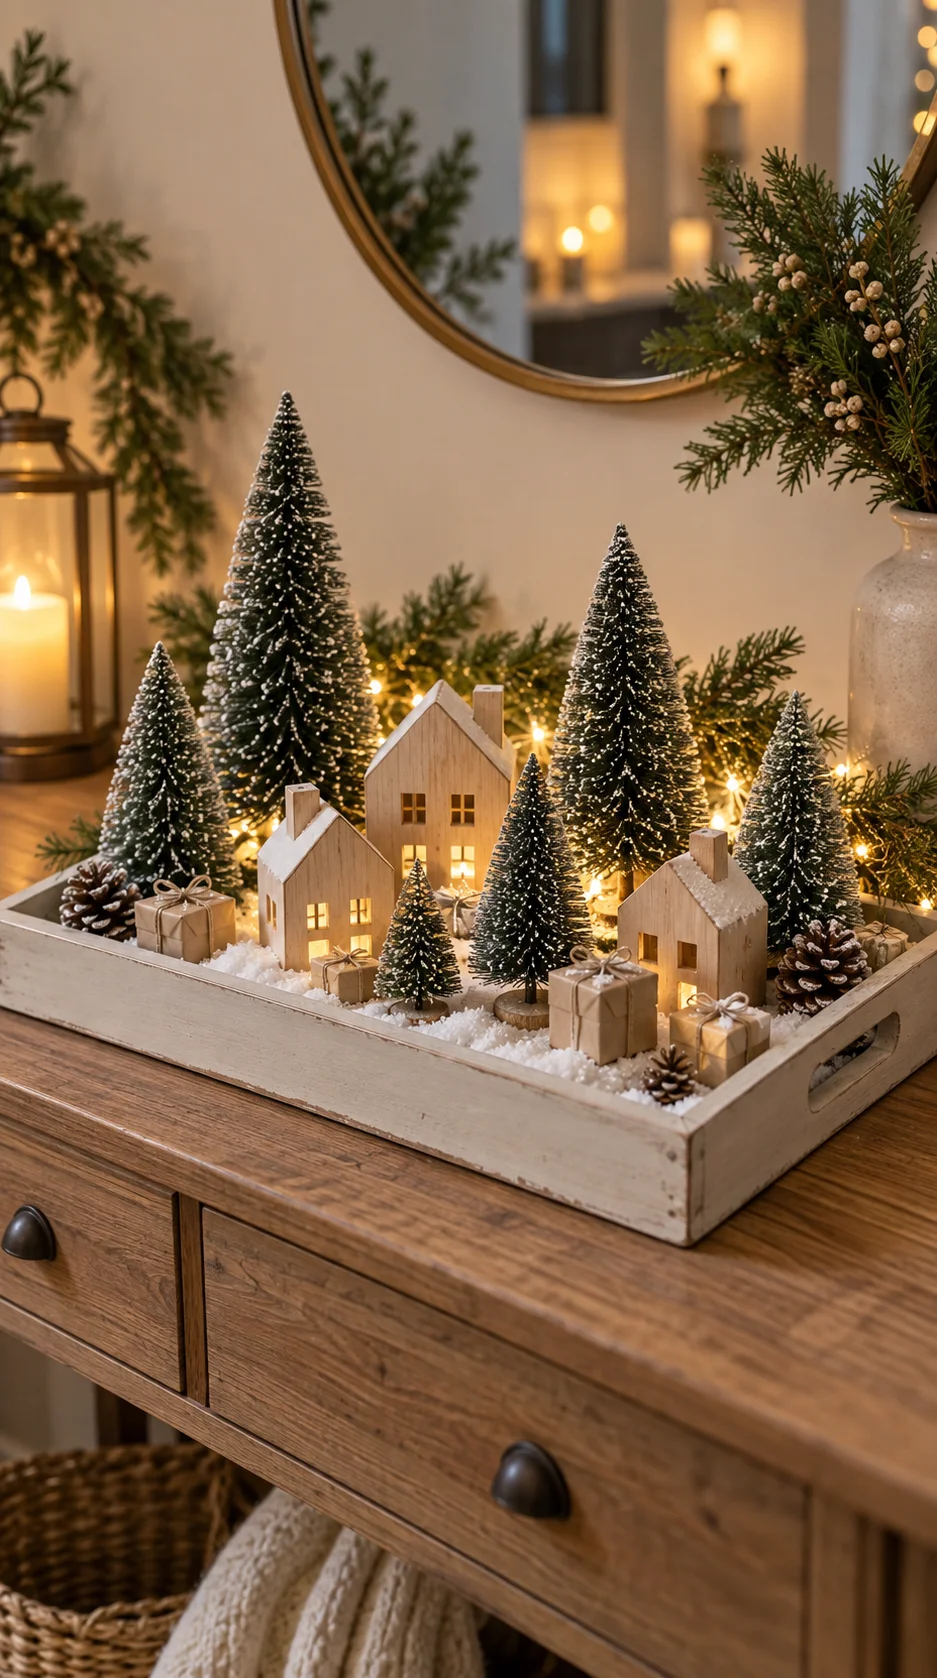
Paint a shallow picture frame, small tray, or unfinished wood sign in a soft neutral shade. Add a thin layer of faux snow, then arrange miniature bottle-brush trees at different heights with small houses, wood blocks, or tiny wrapped packages.
Keep the scene simple enough that each element remains visible. A strand of micro lights can be placed around the back of the display to create a warm evening effect without covering the miniature details.
7Make Framed Christmas Gift-Bag Art
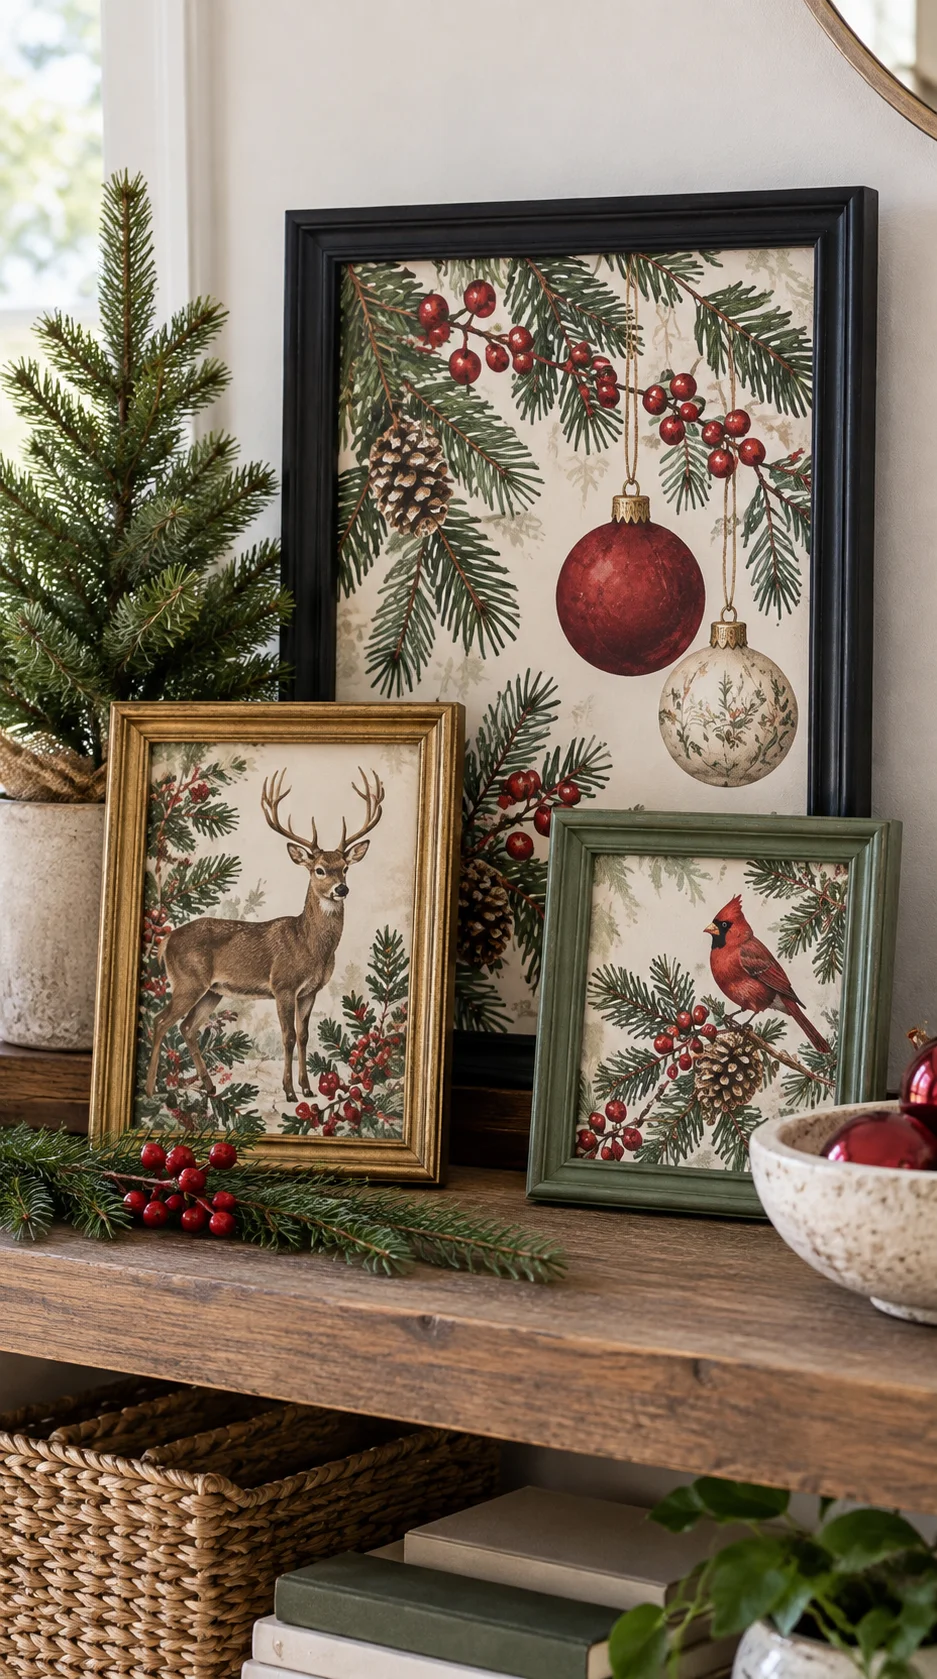
Look for a Christmas gift bag with an attractive illustration, simple pattern, or vintage-style design. Cut out the best section using the frame insert as a template, then place it inside an inexpensive picture frame.
Paint the frame matte black, warm white, muted green, or antique gold before inserting the artwork. Display one large frame alone or group two coordinating designs with greenery and a small tabletop tree.
Amazon find: Matte Craft Paint Set
A small collection of matte colors can update frames, wood blocks, ornaments, trays, and other inexpensive Christmas craft bases.
8Craft Yarn-Wrapped Cone Trees
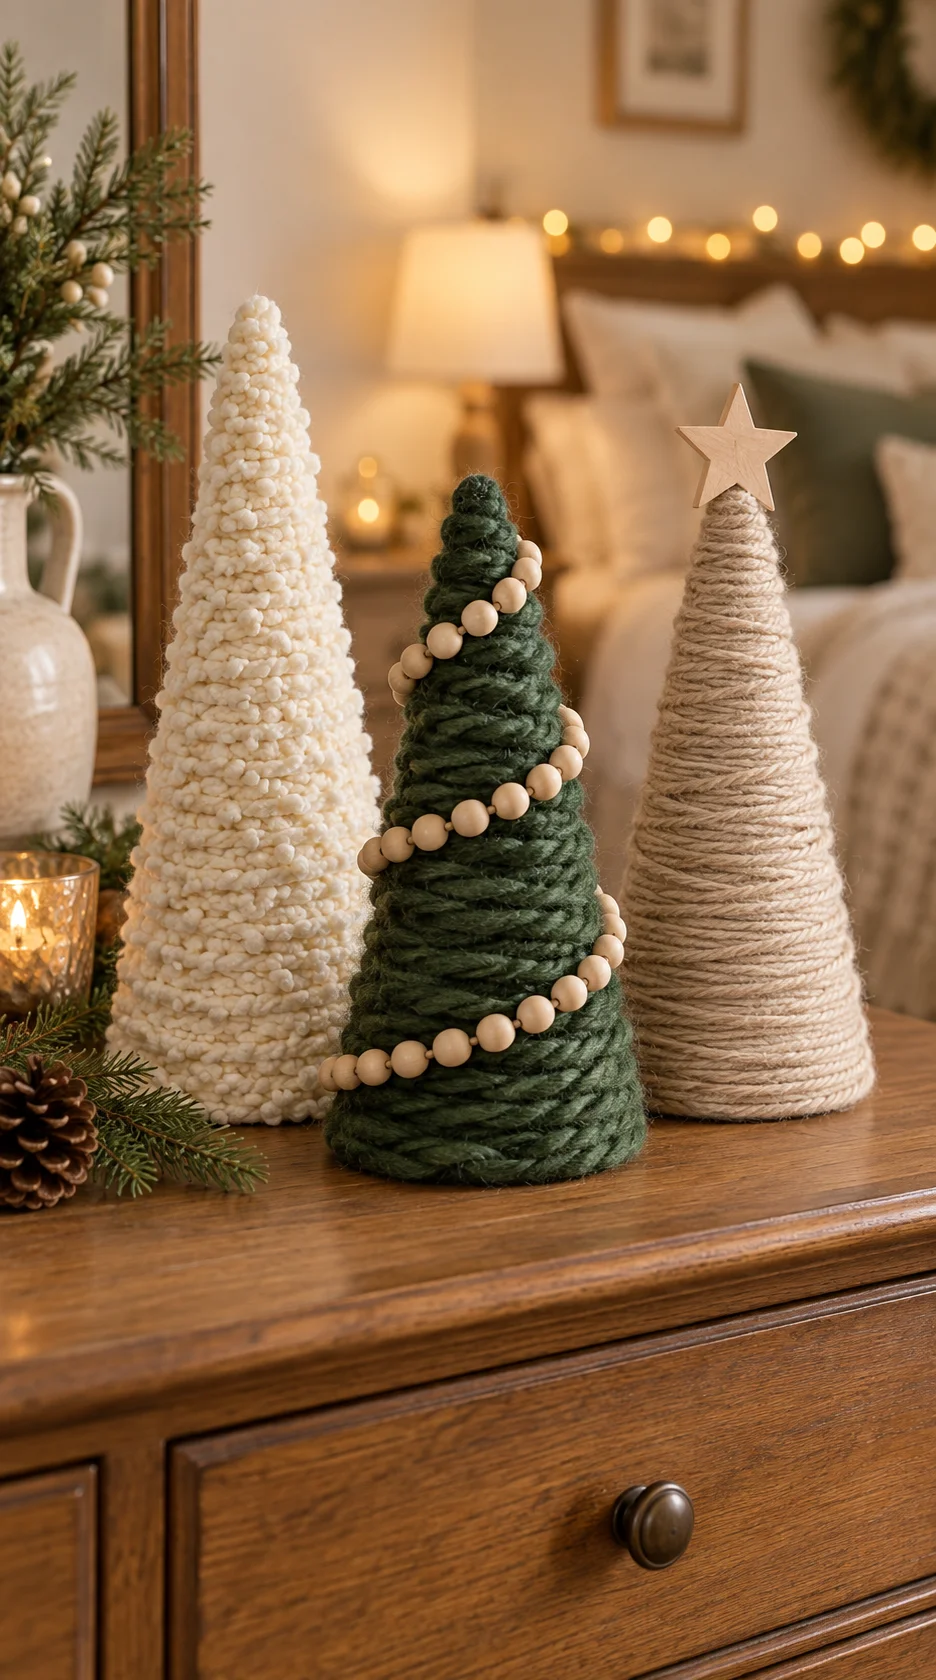
Create cone shapes from poster board or use lightweight craft cones as the base. Beginning at the bottom, wrap each cone with thick yarn and secure it with small amounts of glue as you work toward the top.
Use cream boucle yarn for a soft snowy tree, green yarn for a traditional look, or chunky neutral yarn for modern decor. Add a wooden star, small bell, bead garland, or simple bow, then display three trees in different heights.
9Create Oversized Pool-Noodle Candy Canes

Gently bend one end of a pool noodle into a curved candy-cane shape and secure it carefully. Wrap the noodle in white weather-resistant ribbon or fabric strips, then spiral red ribbon around the entire form.
Use the finished candy canes beside a covered front door, in large planters, or as part of an indoor candy-themed display. Add a bow where the curve begins, and make two matching pieces for a balanced entrance.
10Turn Wood Blocks Into Christmas Presents
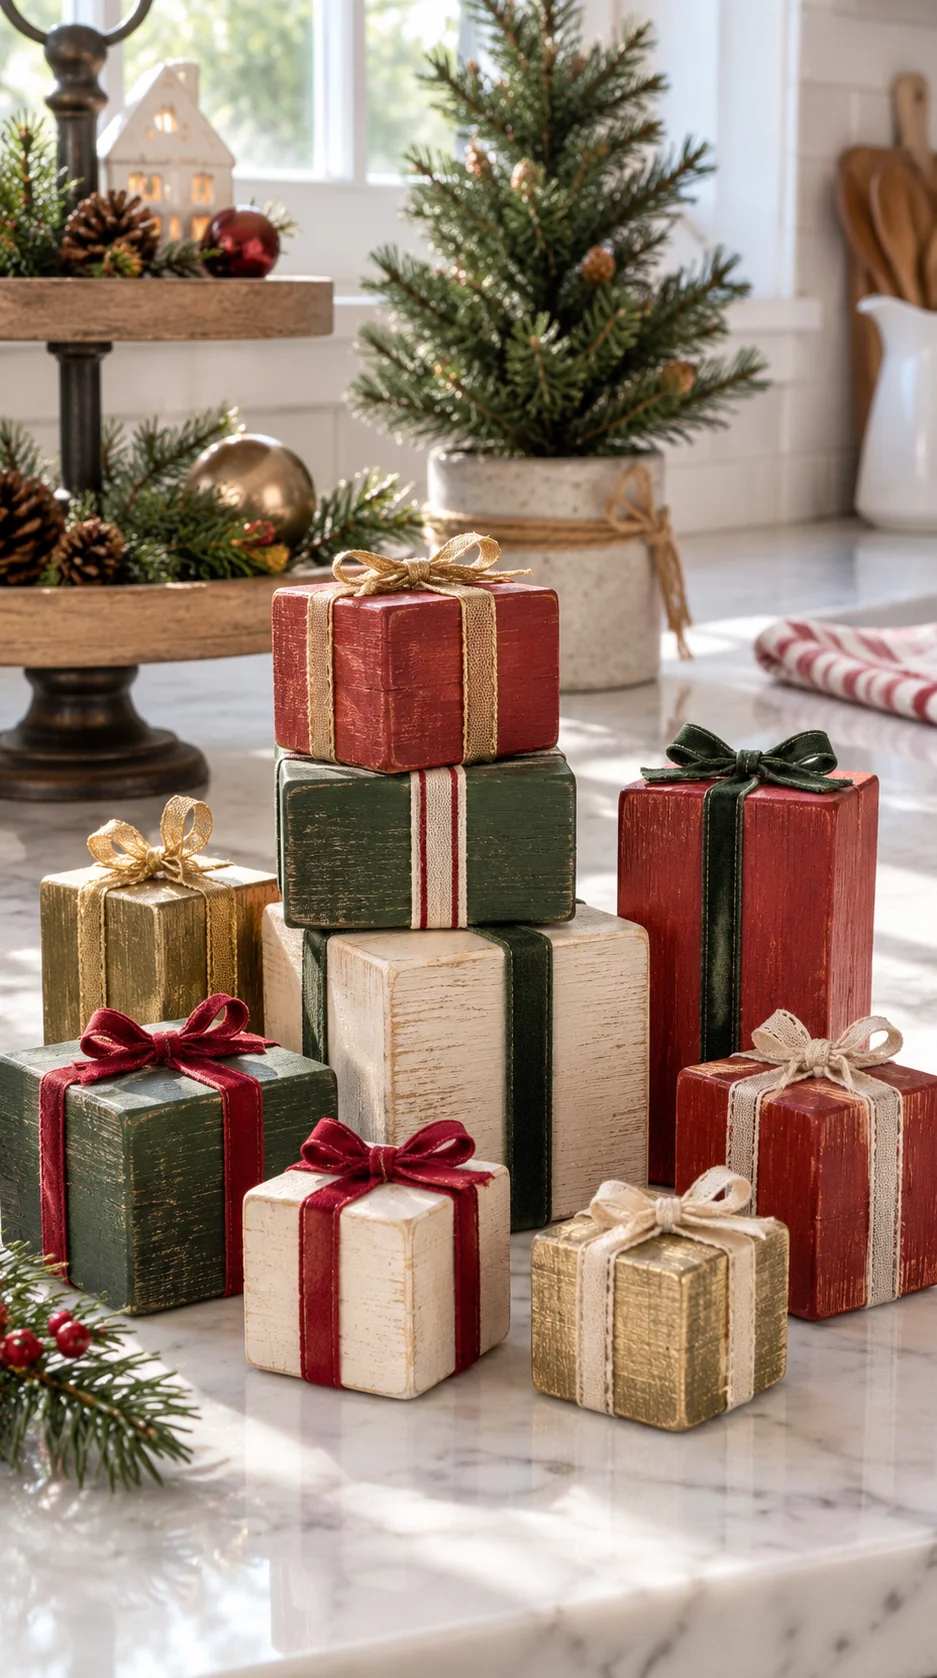
Paint small unfinished wood blocks in coordinating Christmas colors and allow them to dry completely. Wrap narrow ribbon around each block as if it were a gift, securing the ribbon underneath with glue.
Stack several blocks beside a miniature tree, arrange them on a tiered tray, or use the smallest versions as place-setting decorations. Mixing square and rectangular shapes will make the display feel more realistic and playful.
Amazon find: Unfinished Wooden Craft Blocks
Plain blocks can be painted and reused for miniature presents, signs, village buildings, ornament bases, and other seasonal projects.
11String a Jingle-Bell Bead Garland
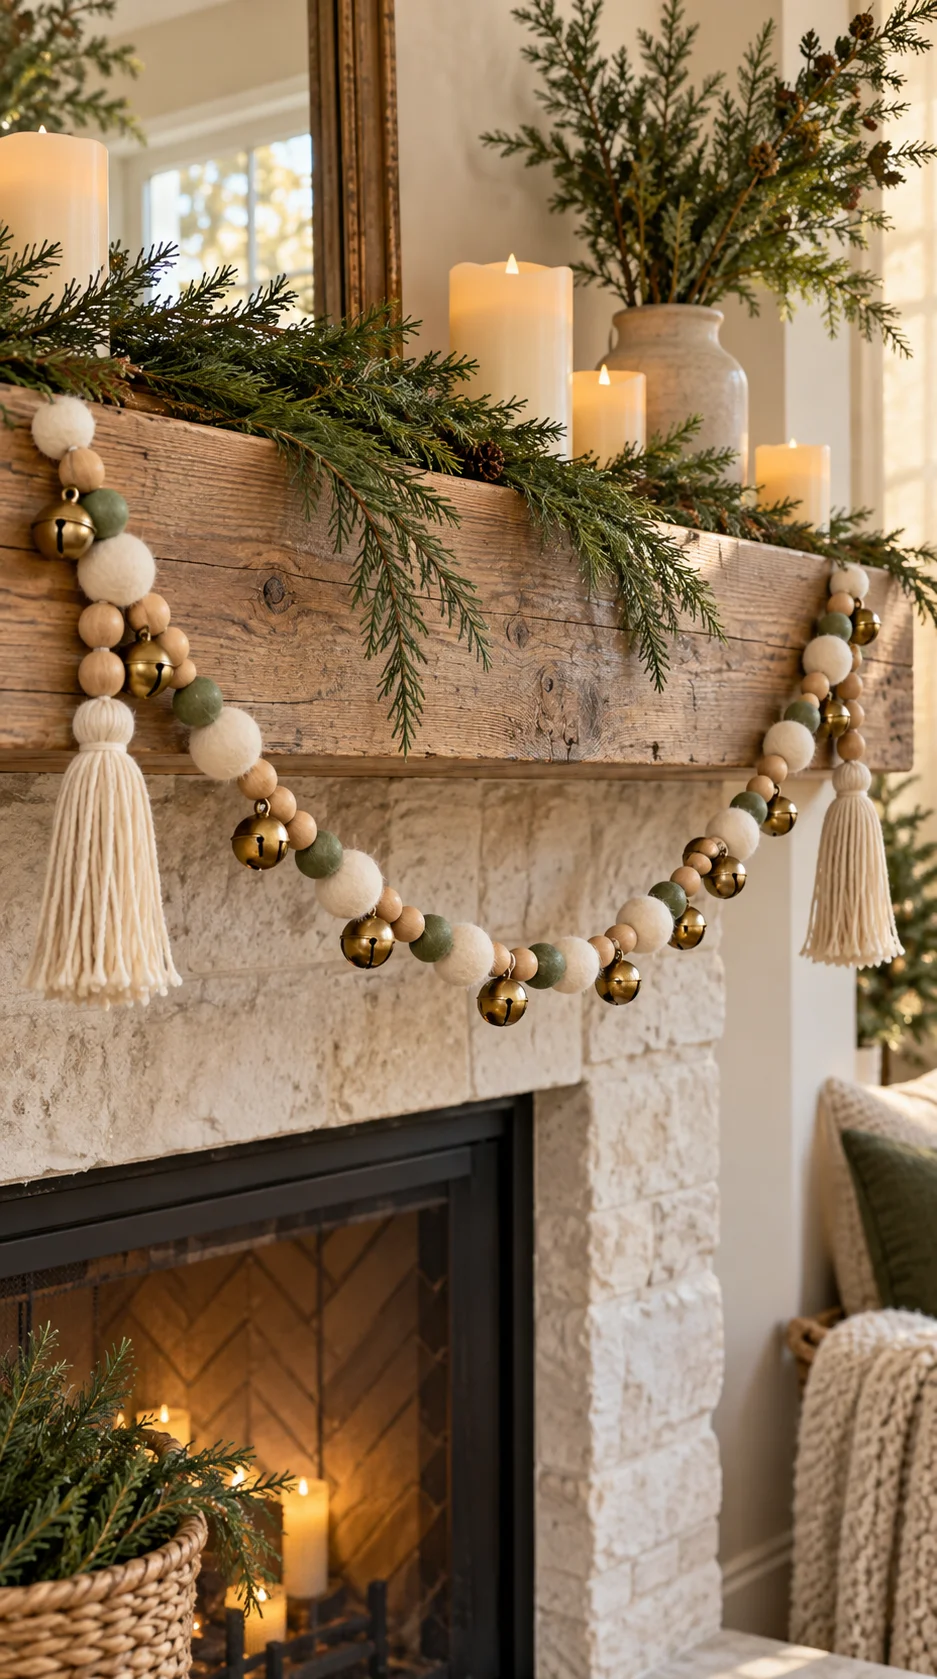
Thread wood beads, small bells, and felt balls onto strong craft cord. Use a repeating sequence, such as three wood beads followed by one bell, to give the garland a consistent rhythm.
Finish each end with a yarn tassel or loop of ribbon. Drape the garland across a mantel, along a shelf, around a tabletop tree, or through a centerpiece. Avoid making it so long that it hangs into walking areas.
12Build a Stacked Bowl Snowman
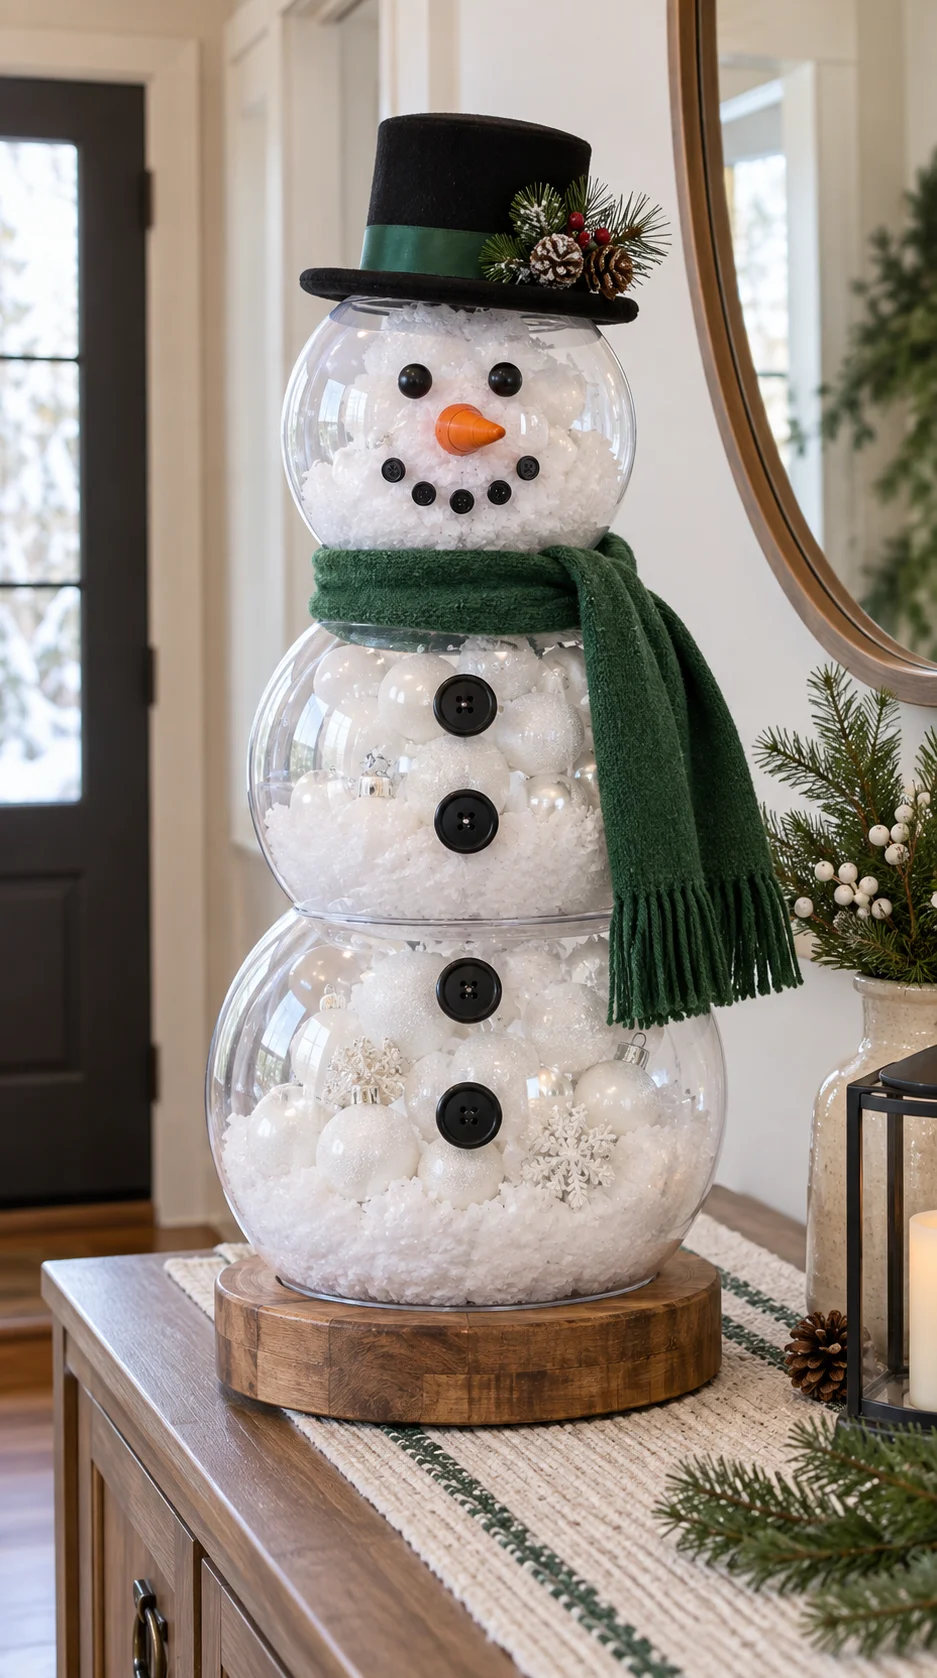
Turn three lightweight clear plastic bowls upside down and stack them from largest to smallest. Fill each bowl with artificial snow, crumpled white tissue, or lightweight white ornaments before securing the sections together.
Add a simple felt scarf, lightweight hat, dark buttons, and a small orange nose. Keep the facial details minimal so the snowman feels charming rather than overly busy, and display it on a protected porch or indoor console.
13Assemble a Christmas Tray Centerpiece
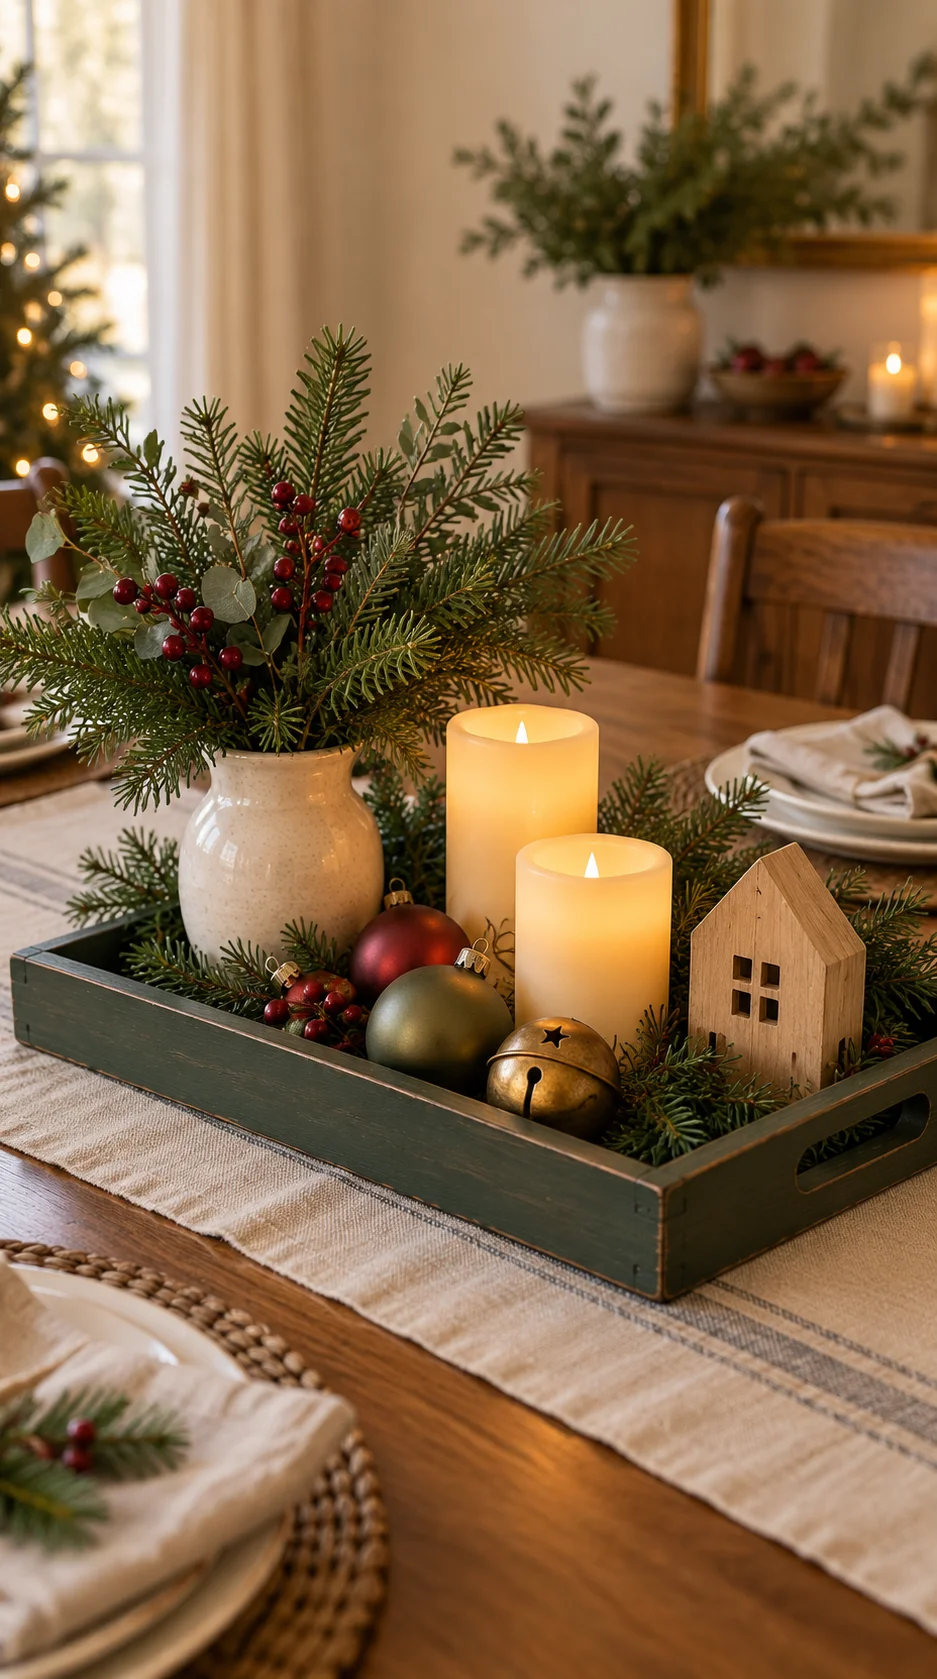
Paint or stain a plain tray, then add one small vase of greenery, two flameless candles, a handful of ornaments, and one statement piece such as a miniature tree, bell, or wooden house. Vary the heights while keeping the center low enough for conversation.
A tray keeps the arrangement contained and makes it easy to move when you need more dining or counter space. Repeat colors already used on your tree or mantel so the centerpiece connects naturally with the rest of your Christmas decor.
Amazon find: Decorative Wood Tray
A simple tray provides a defined base for candles, greenery, ornaments, miniature trees, and seasonal kitchen decorations.
Dollar Tree Christmas Craft Shopping Checklist
| Item | Best For | Amazon Search |
|---|---|---|
| Mini hot-glue gun | Attaching ribbon, ornaments, beads, and lightweight accents | Shop on Amazon |
| Wood beads | Ornaments, tassels, garlands, and gift accents | Shop on Amazon |
| Wired Christmas ribbon | Wreaths, bows, ornaments, trays, and outdoor accents | Shop on Amazon |
| Flameless candles | Frosted vases, centerpieces, shelves, and mantel displays | Shop on Amazon |
| Micro string lights | Jar scenes, miniature villages, and tray centerpieces | Shop on Amazon |
| Matte craft paint | Frames, trays, wood blocks, beads, and ornaments | Shop on Amazon |
| Floral wire | Securing greenery, wreaths, bows, and garlands | Shop on Amazon |
Best Color Palettes for Dollar Tree Christmas DIYs
Natural Woodland
Forest green, cream, warm wood, mushroom brown, and aged brass.
Classic Christmas
Deep red, evergreen, warm white, antique gold, and natural pine.
Neutral Farmhouse
Oatmeal, ivory, weathered wood, matte black, and muted sage.
Icy Winter
Soft blue, white, silver, navy, and clear glass.
Playful Candy
Cherry red, blush pink, mint green, white, and soft gold.
Important DIY and Holiday Safety Tips
Protect tables and countertops before using paint, artificial snow, adhesive, or cutting tools. Follow all product instructions, work in a ventilated area when required, and allow painted or sprayed items to dry completely.
Hot-glue guns, craft knives, scissors, wire cutters, and spray products require responsible adult handling and supervision. Keep hot glue away from skin, and do not leave heated tools plugged in when they are not being used.
Use flameless candles around paper, fabric, artificial greenery, ribbon, plastic, and faux snow. Keep decorations away from fireplaces, stovetops, heaters, vents, electrical panels, and walkways. Small beads, bells, batteries, and decorative pieces should be kept away from young children and pets.
Frequently Asked Questions
How can I make Dollar Tree Christmas decorations look expensive?
Use a limited color palette, replace shiny finishes with matte paint, add natural-looking greenery, and repeat the same ribbon or texture across several projects. Fewer well-styled details usually look more refined than numerous embellishments.
What should I buy first for Dollar Tree Christmas crafts?
Begin with versatile materials such as clear ornaments, wood shapes, picture frames, jars, ribbon, greenery, beads, bells, trays, and flameless candles. Select only the supplies needed for your planned projects.
When should I shop for Dollar Tree Christmas supplies?
Seasonal inventory often appears before the main holiday decorating period and can vary by location. Shop after selecting your projects, but remain flexible and substitute similar shapes, finishes, or colors when an exact item is unavailable.
How should I store handmade Christmas decorations?
Let every piece dry completely, wrap fragile items individually, and store decorations in labeled containers. Keep wreaths flat or in a protective box, and prevent heavy objects from crushing ribbon, yarn, greenery, and lightweight ornaments.
Final Thoughts
DIY Dollar Tree Christmas decorations make it possible to create a festive home without purchasing an entirely new collection. Simple supplies such as jars, frames, ornaments, ribbon, wood blocks, beads, and greenery can become beautiful holiday accents with a few thoughtful changes.
Choose two or three projects that work with your existing decor and repeat the same palette across them. A matching wreath, garland, ornament set, and centerpiece can make the entire room feel coordinated even when every piece was created on a small budget.
Most importantly, allow the projects to feel handmade. Small variations are part of their charm and can make your Christmas decor feel warmer, more personal, and more meaningful throughout the holiday season.