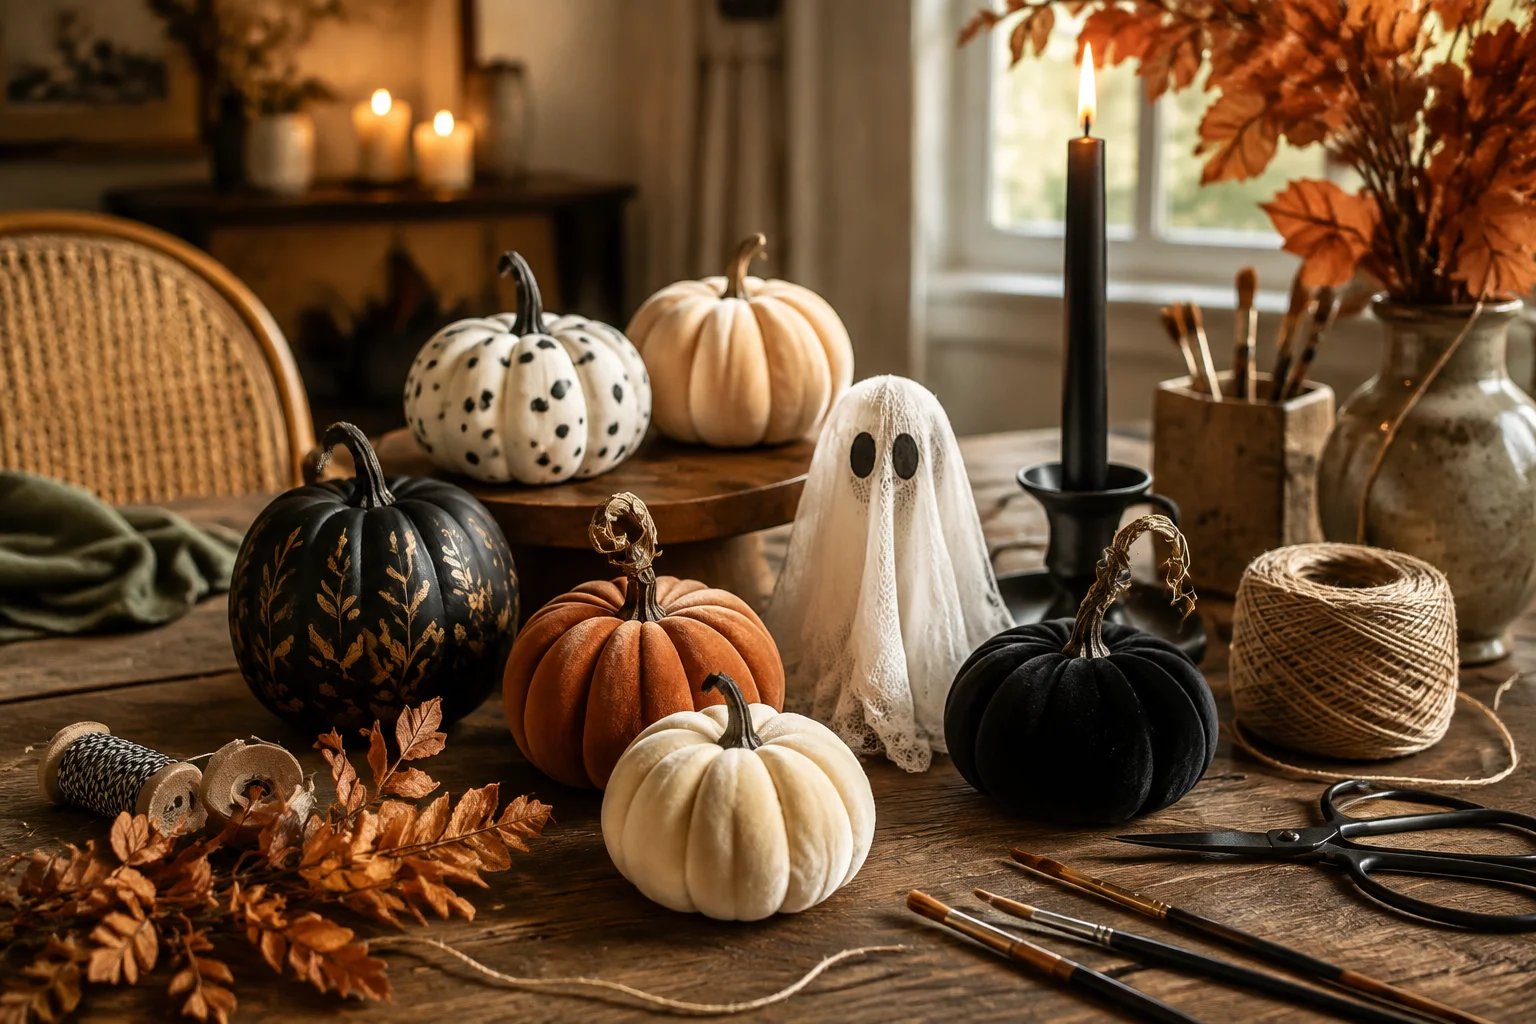
Halloween crafting is not just for kids. With thoughtful colors, simple shapes, and the right materials, you can create handmade Halloween decorations that look stylish enough to display throughout your home.
These projects are playful without feeling childish or overly scary. You will find cute ghosts, fabric pumpkins, painted candles, framed artwork, textured wreaths, and other decorations that work beautifully on mantels, shelves, entry tables, coffee stations, and covered porches.
Below are 14 Halloween crafts for adults, along with material suggestions, styling advice, safety tips, color palettes, and affordable product finds to help you complete each project.
More Halloween Decorating Inspiration
Quick List of Cute Halloween Crafts
- Mini felt ghost garland
- Thrifted framed ghost art
- Painted ghost taper candles
- Soft fabric pumpkins
- Macramé rope ghost
- Paper bat branch arrangement
- Mummy yarn wreath
- Painted Halloween doormat
- Glowing ghost lanterns
- Bubbling Halloween cauldron
- Air-dry clay ornaments
- Painted ghost coasters
- Fabric ghost dolls
- Yarn spider web arrangement
How to Make Adult Halloween Crafts Look Stylish
Choose your color palette before buying supplies. Limiting the project to three or four colors will help inexpensive materials look coordinated. Black, cream, muted orange, and warm wood are easy choices, but pink, sage, burgundy, and gold can also create a beautiful Halloween look.
Use materials with noticeable texture, such as linen, velvet, yarn, unfinished wood, clay, gauze, and aged metal. These materials give simple ghost and pumpkin shapes more character while preventing the finished project from looking like a disposable party decoration.
Think about where the craft will be displayed before you make it. A garland should be measured for its shelf or mantel, a wreath should suit the width of the door, and tabletop decorations should leave enough space for everyday activities.
Finally, keep small details simple. A ghost only needs two eyes, a pumpkin can look beautiful without a complicated face, and one well-placed bow may be more effective than several unrelated embellishments.
One recognizable Halloween shape + two main colors + one textured material + one polished finishing detail
Which Halloween Craft Should You Make?
| Style or Area | Best Craft Pieces | Why It Works |
|---|---|---|
| Halloween Mantel | Ghost garland, painted candles, framed ghost art | The pieces create height and layers without requiring much surface space. |
| Entryway | Mummy wreath, doormat, ghost lanterns | Guests see the decorations as soon as they arrive. |
| Coffee Table | Fabric pumpkins, clay ornaments, ghost coasters | Small functional pieces add seasonal detail without creating clutter. |
| Shelf or Bookcase | Rope ghost, framed art, fabric ghost dolls | Compact decorations can be layered with books and everyday accessories. |
| Party Table | Bubbling cauldron, candles, clay ornaments | Handmade focal pieces make a simple food or drink station feel themed. |
| Covered Porch | Painted doormat, wreath, weather-protected lanterns | Larger shapes remain visible from the path and add curb appeal. |
Cute Halloween Crafts for Adults You’ll Actually Want to Display
1Make a Mini Felt Ghost Garland
Cut several small ghost shapes from white or cream felt. Give each ghost a slightly different shape, then add tiny eyes with black fabric paint, embroidery thread, or small felt circles.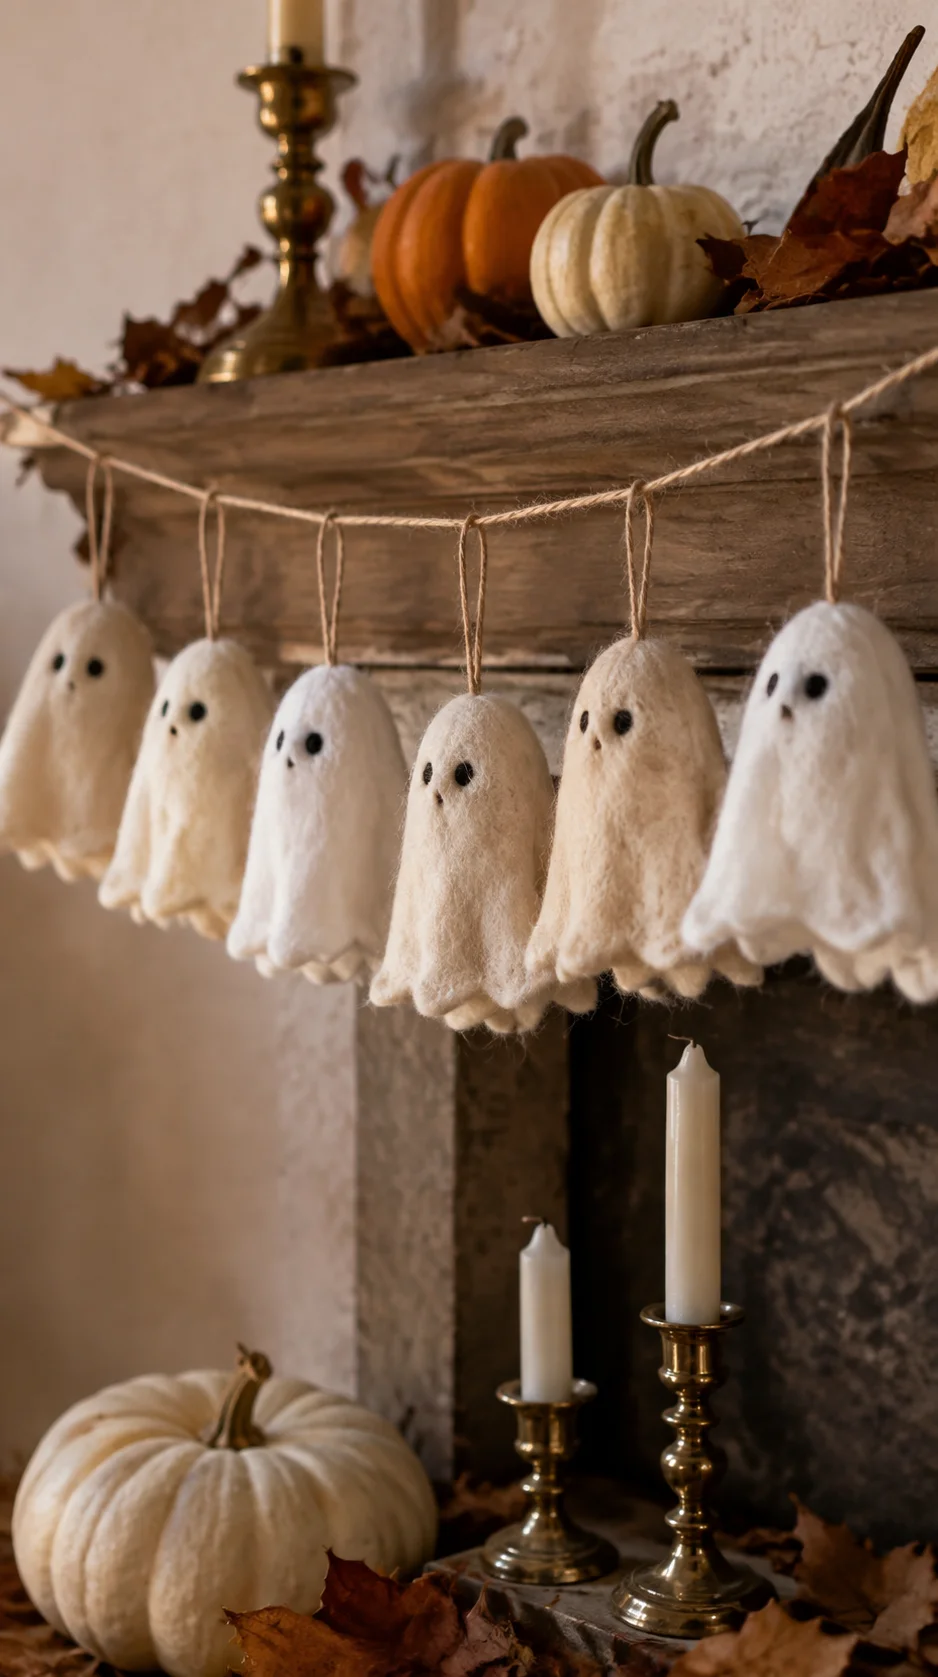
Attach the ghosts to neutral twine or thin ribbon and leave a little space between each one. Hang the finished garland across a mantel, shelf, mirror, bar cart, or narrow entry table where its small details can be appreciated.
2Paint Ghost Art for Thrifted Frames
Look for small decorative frames at thrift stores and paint simple white ghosts on black or dark brown cardstock. You can also paint directly onto inexpensive canvas panels or place dark paper behind the glass and add removable designs to the front.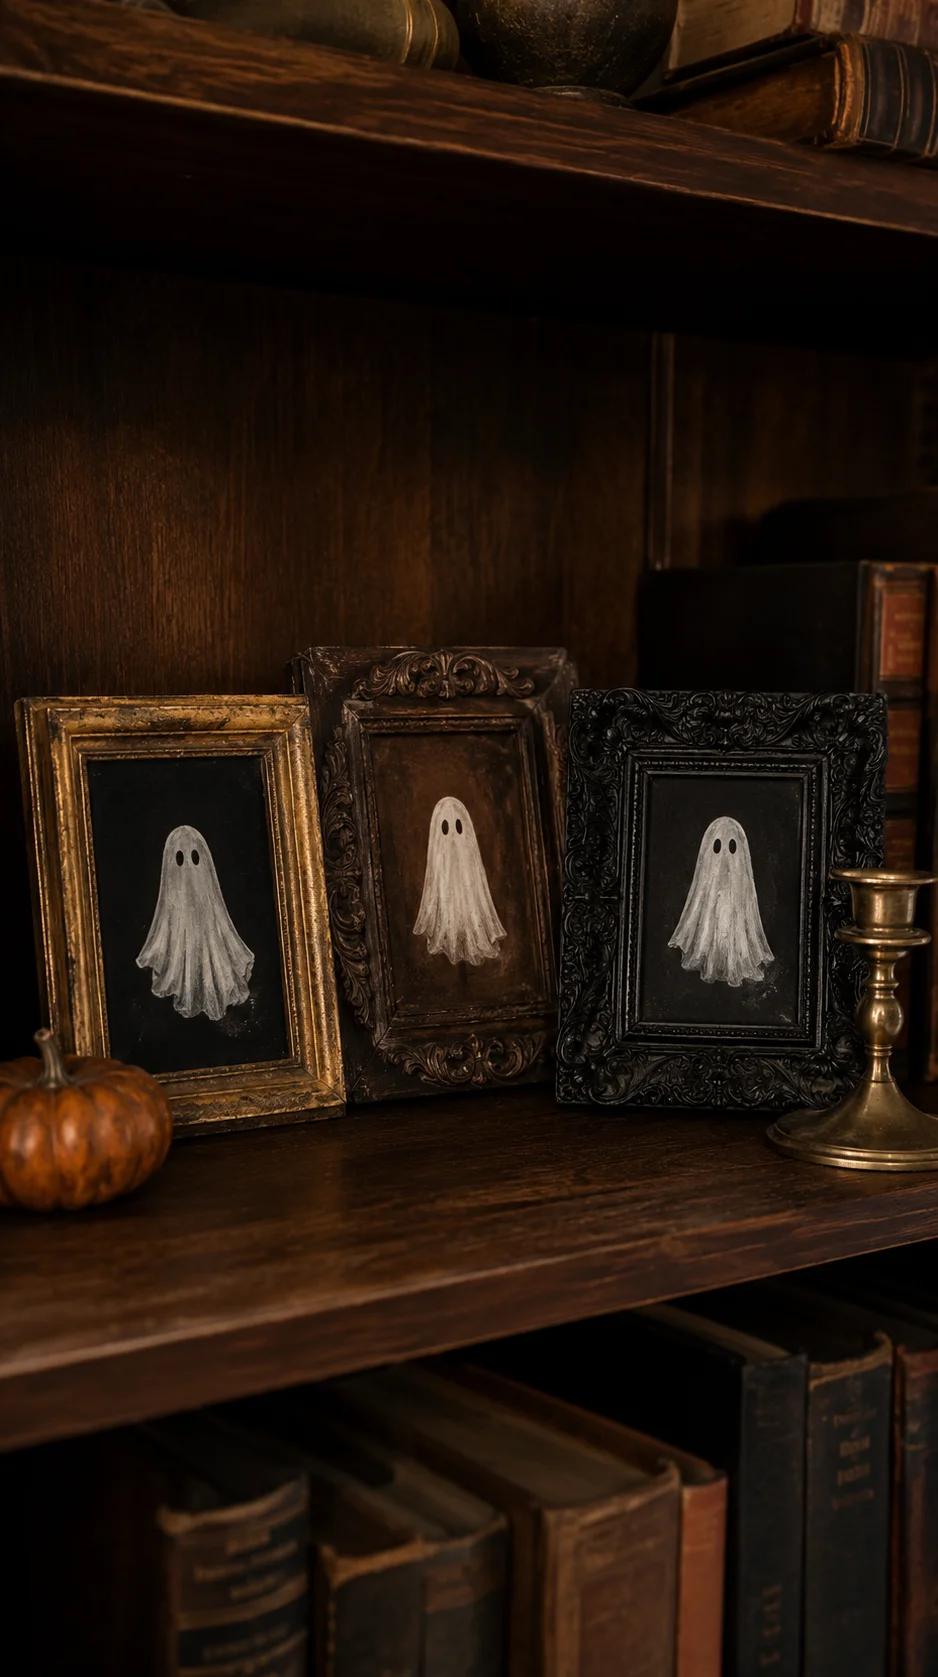
Vintage gold, dark wood, and ornate black frames make the playful ghost shapes feel more grown-up. Create two or three coordinated pieces and lean them together on a shelf instead of hanging every frame separately.
Amazon find: Small Vintage-Style Picture Frames
Decorative frames give simple handmade ghost art an antique, collected appearance that looks lovely on mantels and bookshelves.
3Decorate Ghost Taper Candles
Transform plain white taper candles by adding small ghost faces and tiny black or orange details. Candle decorating pens or wax-safe materials provide a cleaner finish than ordinary paint and are less likely to interfere with how the candle burns.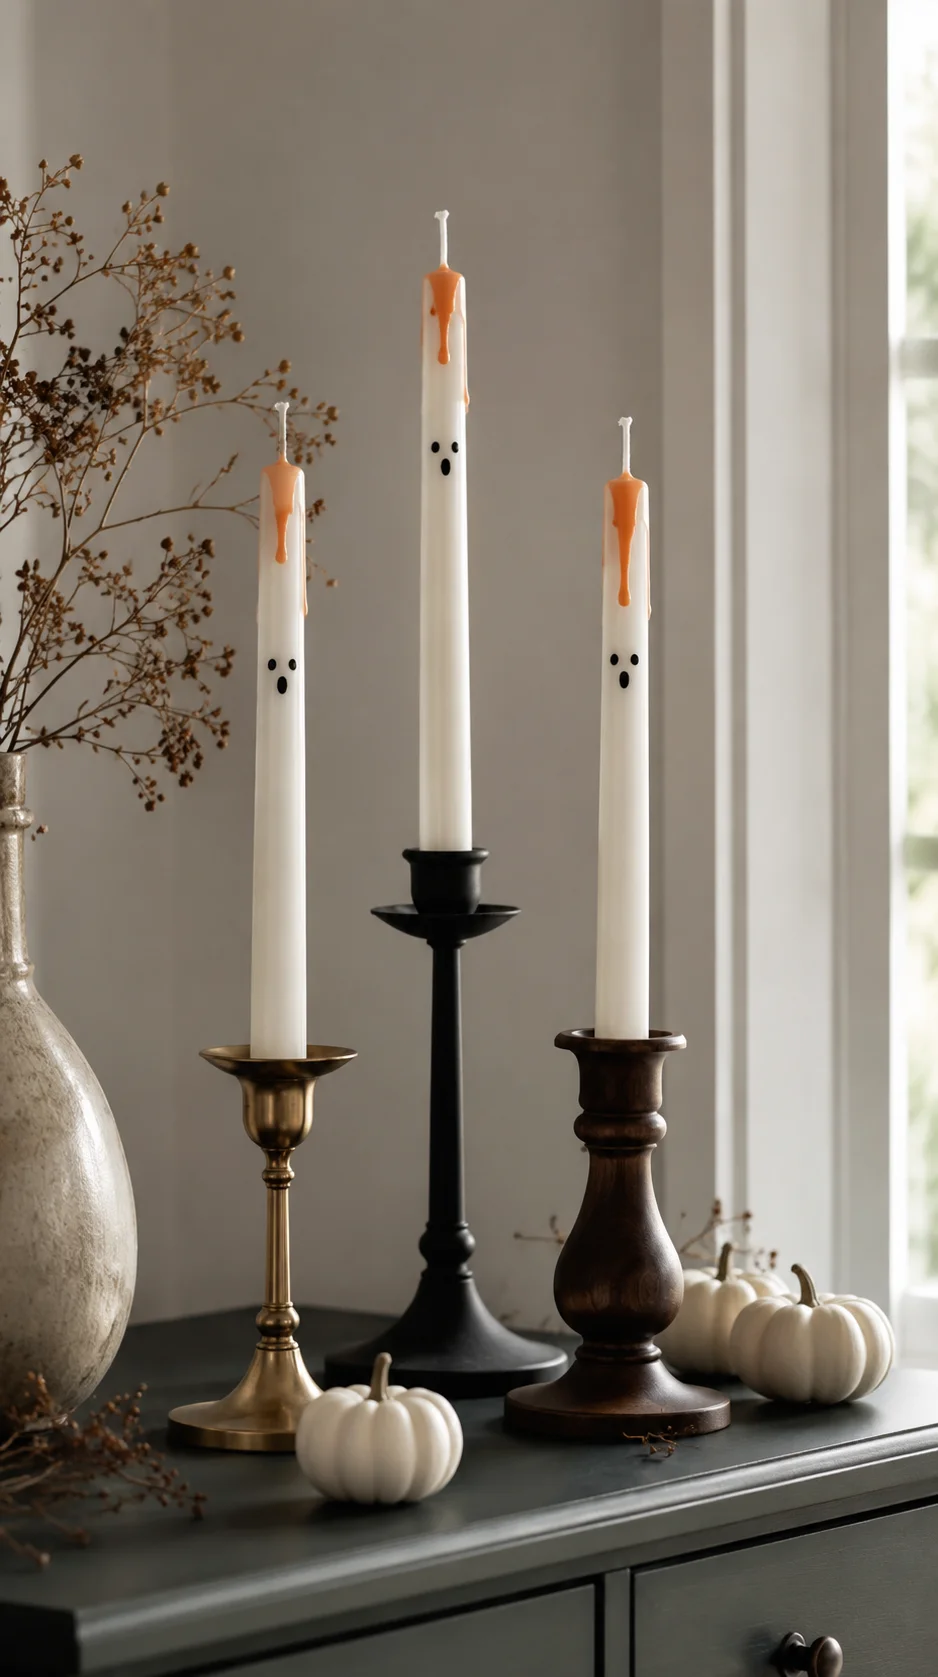
Group three finished tapers in candleholders of different heights. They can become the focal point of a mantel or sideboard, but keep the surrounding decorations minimal so the little faces remain visible.
4Sew Soft Fabric Pumpkins
Turn leftover linen, velvet, gingham, or floral fabric into reusable pumpkins. Cut a fabric circle, sew a loose running stitch around the edge, add stuffing, and carefully pull the thread until the opening closes.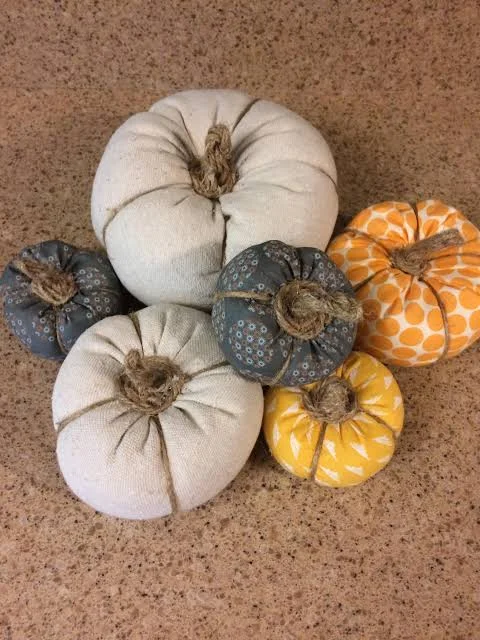
Wrap strong thread or twine around the stuffed shape to form pumpkin sections. Finish it with a short stick, cinnamon stick, or wrapped fabric stem, then gather several pumpkins in a wooden bowl or woven basket.
Amazon find: Assorted Fabric Craft Squares
Coordinated fabric squares make it easy to create several small pumpkins with different patterns while maintaining one consistent color palette.
5Create a Neutral Macramé Rope Ghost
Cut several equal lengths of thick cotton cord and fold them over a small wood ring or curved cardboard form. Comb out the ends to create a soft ghost body, then trim the bottom into a rounded or gently uneven shape.
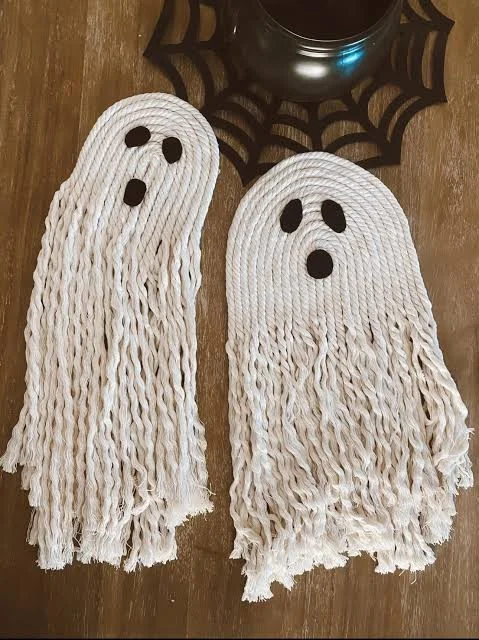
Add simple black felt eyes and finish the ghost with a muted orange, black, or gingham bow. Hang it from a peg rail, prop it inside a shadow box, or add a loop so it can decorate a doorknob or cabinet handle.
6Add Paper Bats to Bare Branches
Collect a few clean dry branches and arrange them in a sturdy vase. Cut small bats from black cardstock, gently bend the wings forward, and attach the bats to different areas of the branches.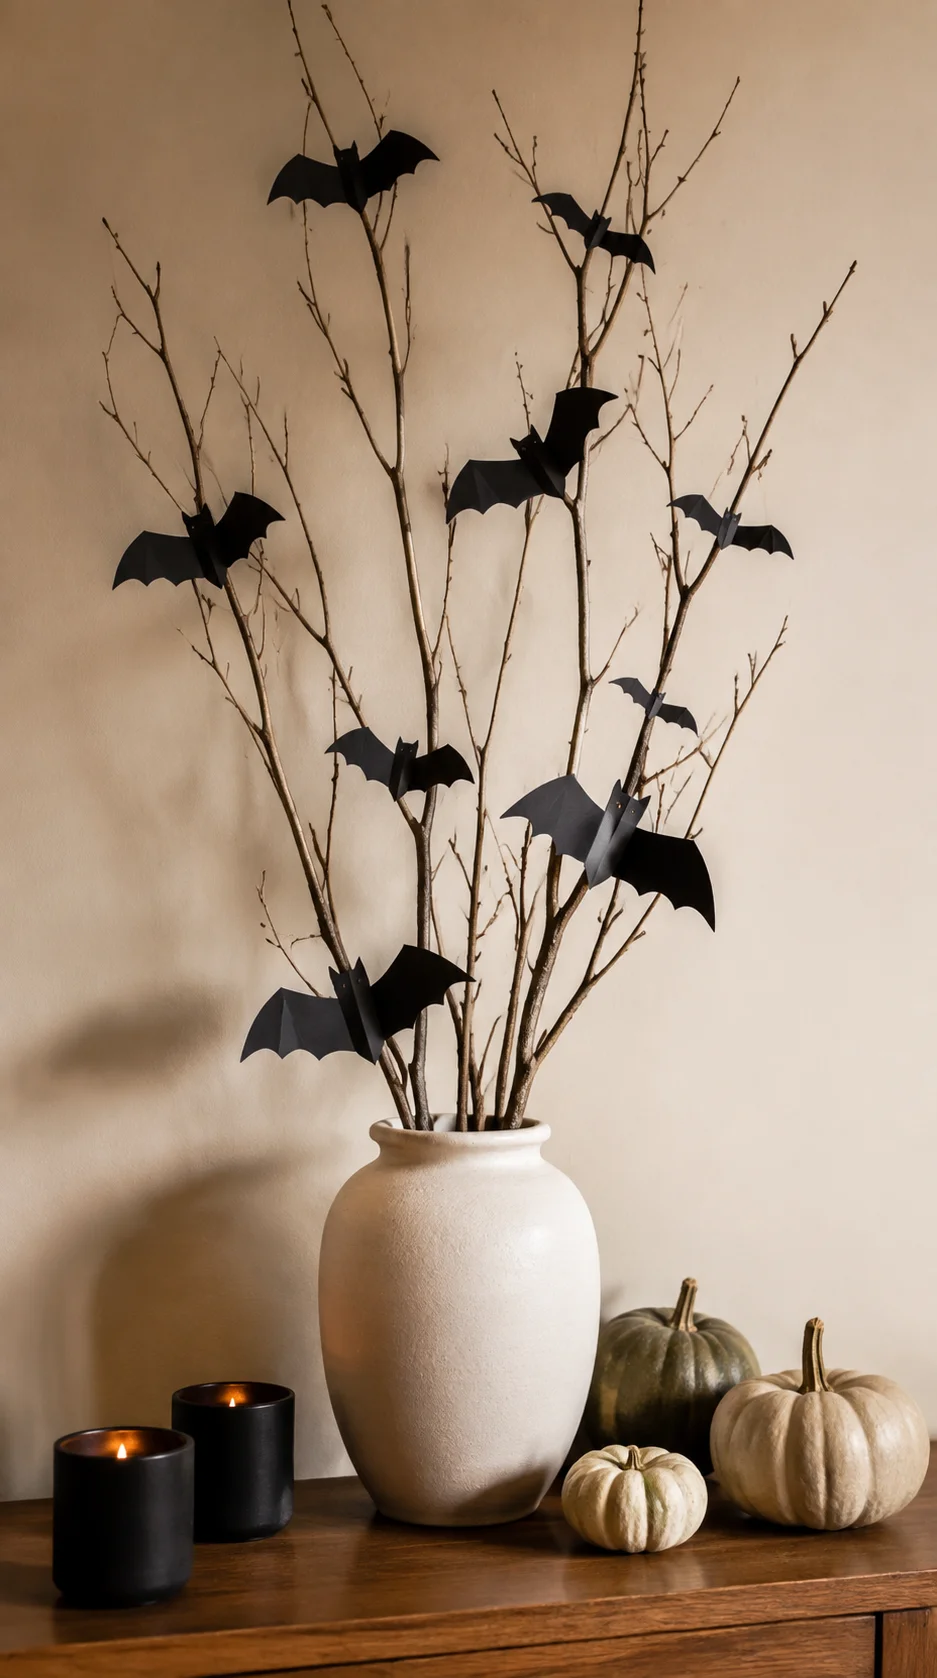
Vary the bat sizes and avoid placing them at perfectly equal distances. The branches provide height, making this an effective craft for a console, fireplace hearth, dining buffet, or empty kitchen corner.
Amazon find: Black Cardstock for Halloween Crafts
Medium-weight cardstock holds a folded wing shape better than thin paper while remaining easy to cut with scissors or a craft machine.
7Wrap a Cute Mummy Yarn Wreath
Wrap a foam wreath form with chunky cream yarn, white fabric strips, or soft gauze. Overlap the material in different directions so it resembles mummy bandages without leaving large sections of the wreath form visible.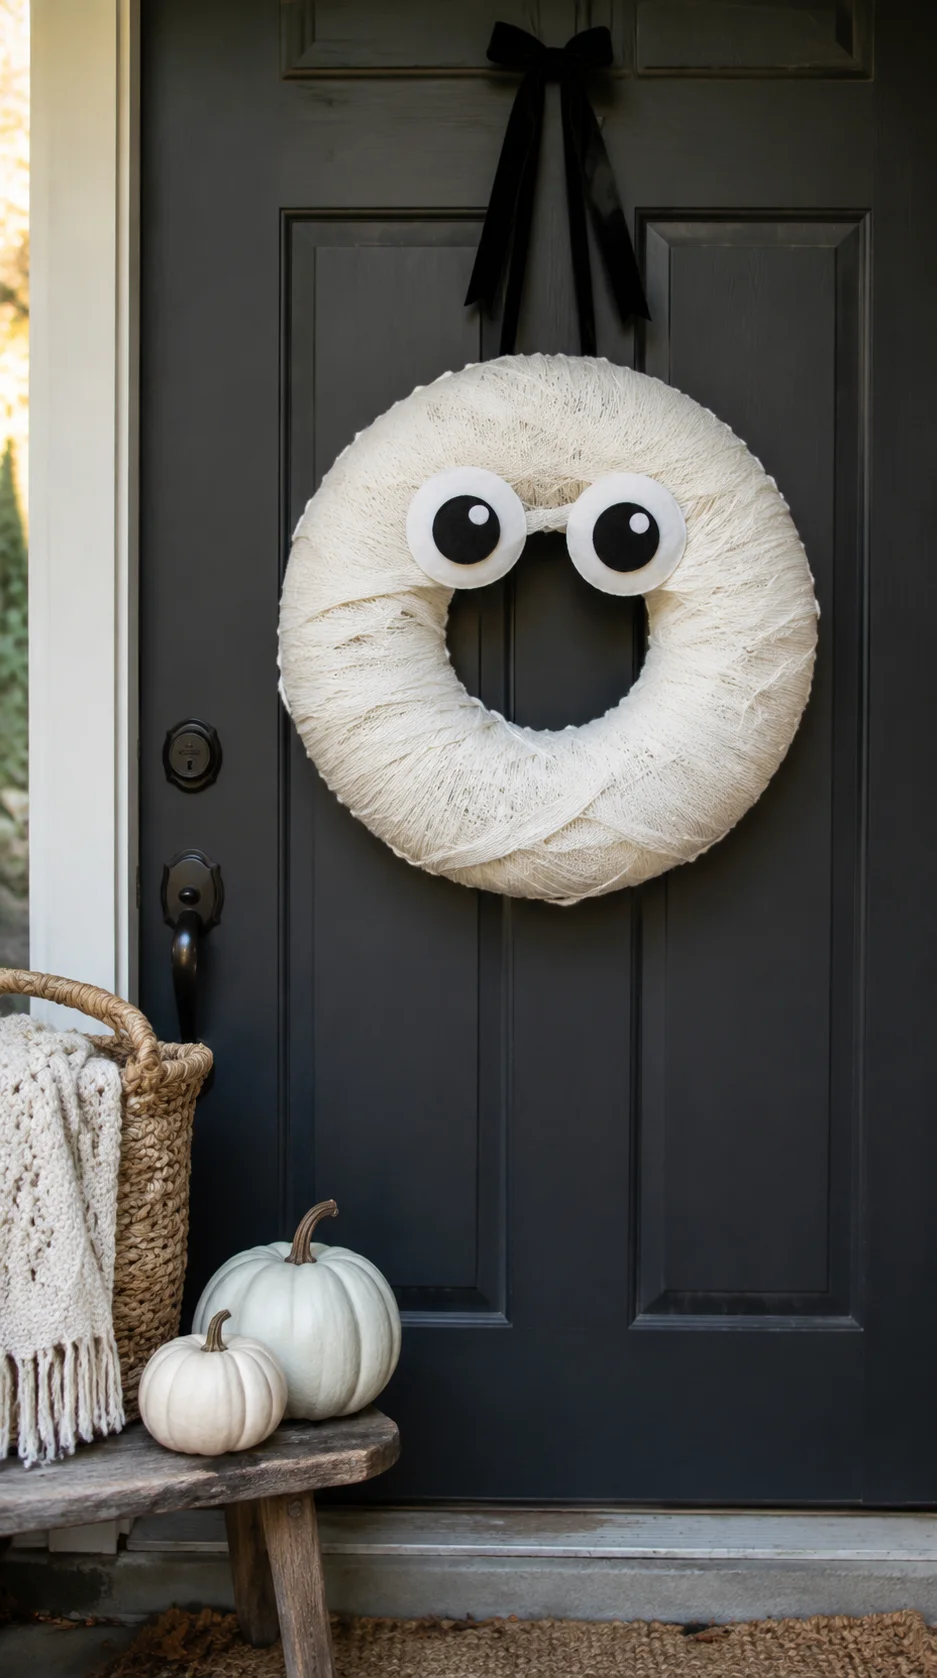
Add two oversized black-and-white felt eyes, keeping the face simple. Hang the wreath with a black velvet or striped ribbon and use it indoors or on a covered door protected from moisture.
8Paint a Simple Halloween Doormat
Use a plain coir doormat as the base for bold ghost, bat, checkerboard, or pumpkin shapes. Sketch the design on paper first, then create a stencil or mark the main areas lightly on the mat.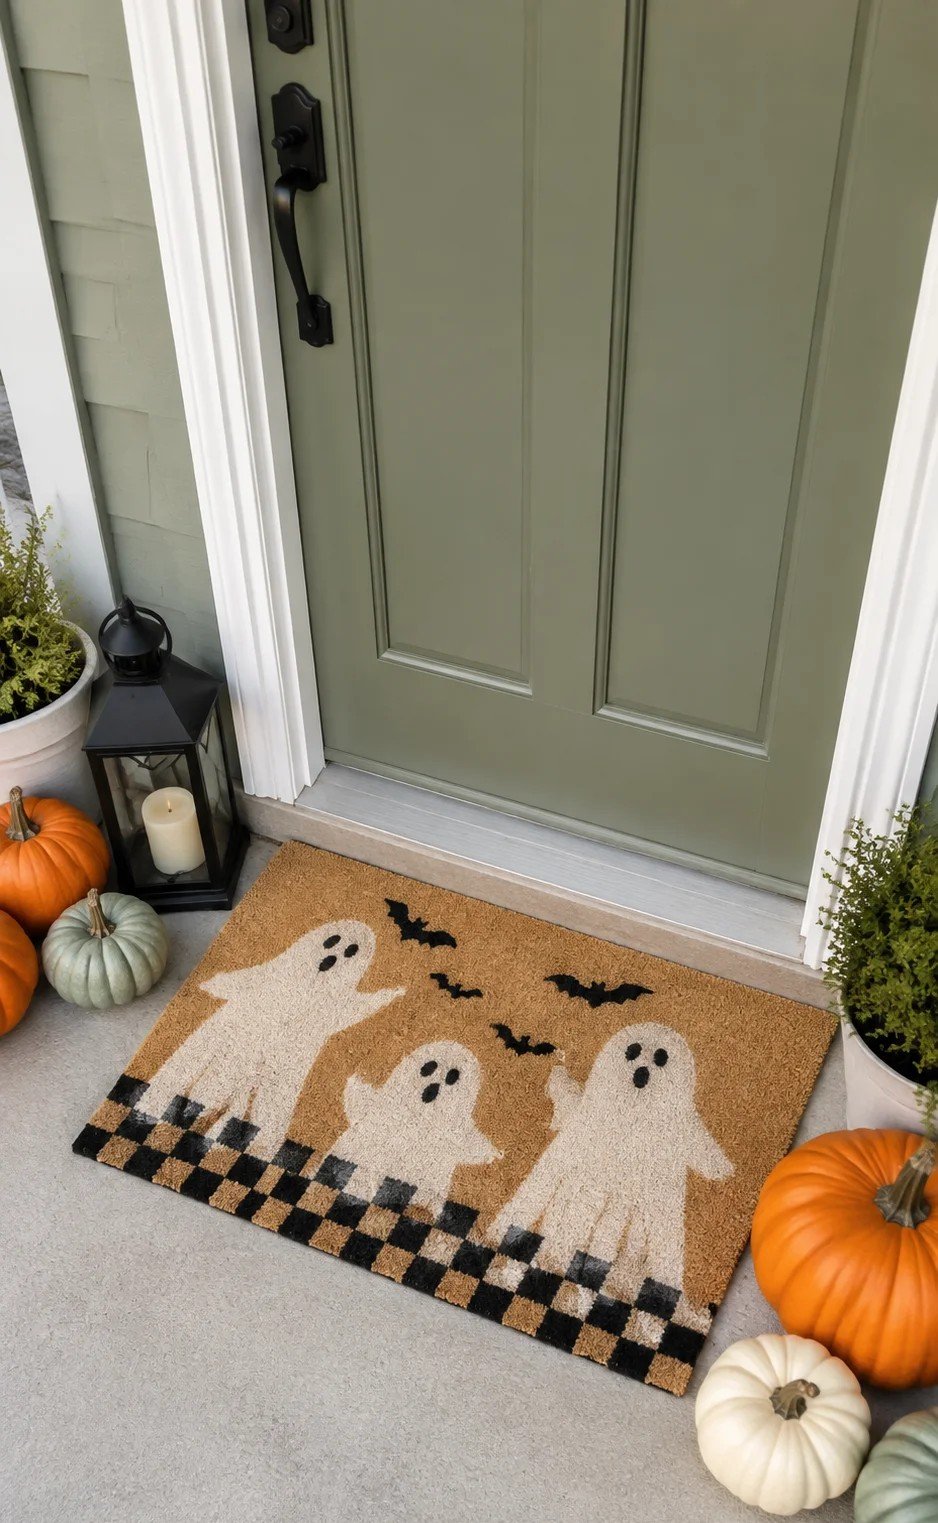
Apply outdoor paint with an up-and-down dabbing motion so it reaches the textured surface. Keep small details to a minimum because strong shapes remain visible longer and are easier to recognize from the sidewalk.
Amazon find: Plain Coir Doormat for Painting
A simple undecorated coir mat provides an affordable base for a customized Halloween entryway project.
9Make Glowing Cheesecloth Ghost Lanterns
Wrap clean glass jars with white cheesecloth or loosely woven gauze, keeping some edges uneven for a floating appearance. Attach simple black felt eyes or paint a tiny face on the outside.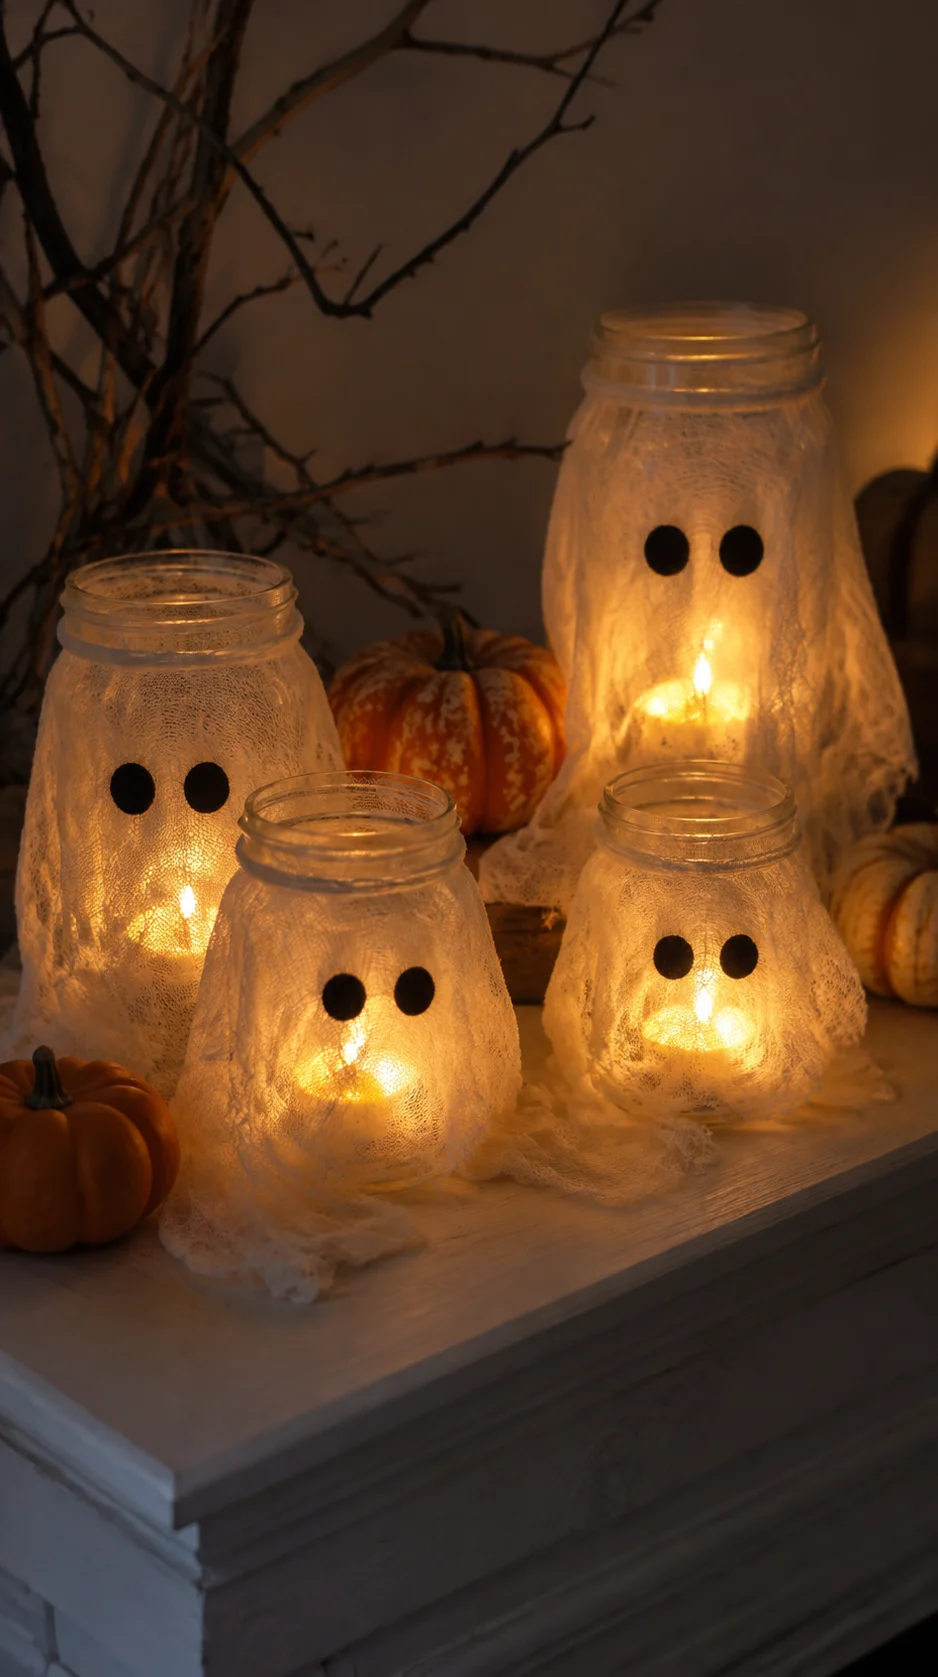
Place battery-operated tea lights inside the jars to create a warm glow. Arrange several lanterns at different heights on a mantel, covered porch table, or party buffet, but keep them protected from rain and strong wind.
10Build a Bubbling Halloween Cauldron
Create an overflowing potion effect with a small plastic cauldron and clear fillable ornaments. Arrange the ornaments around the rim, allowing some to extend upward and others to spill down one side.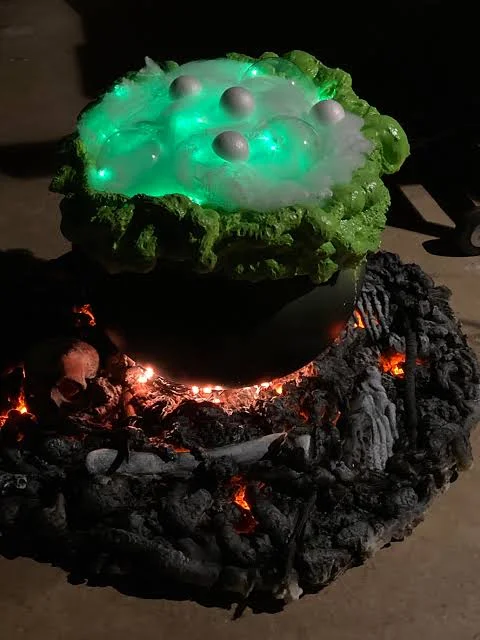
Add battery-operated fairy lights beneath or between the clear bubbles before securing the arrangement. Display the cauldron on a protected table with dark fabric, faux moss, small potion bottles, or books beneath it.
Amazon find: Clear Fillable Plastic Ornaments
Clear ornaments in mixed sizes create lightweight potion bubbles and reflect battery lights for a glowing effect.
11Shape Air-Dry Clay Halloween Ornaments
Roll air-dry clay into a thin, even sheet and cut out ghosts, pumpkins, moons, stars, or small haunted houses. Make a hole near the top of each ornament before the clay dries if you plan to hang it.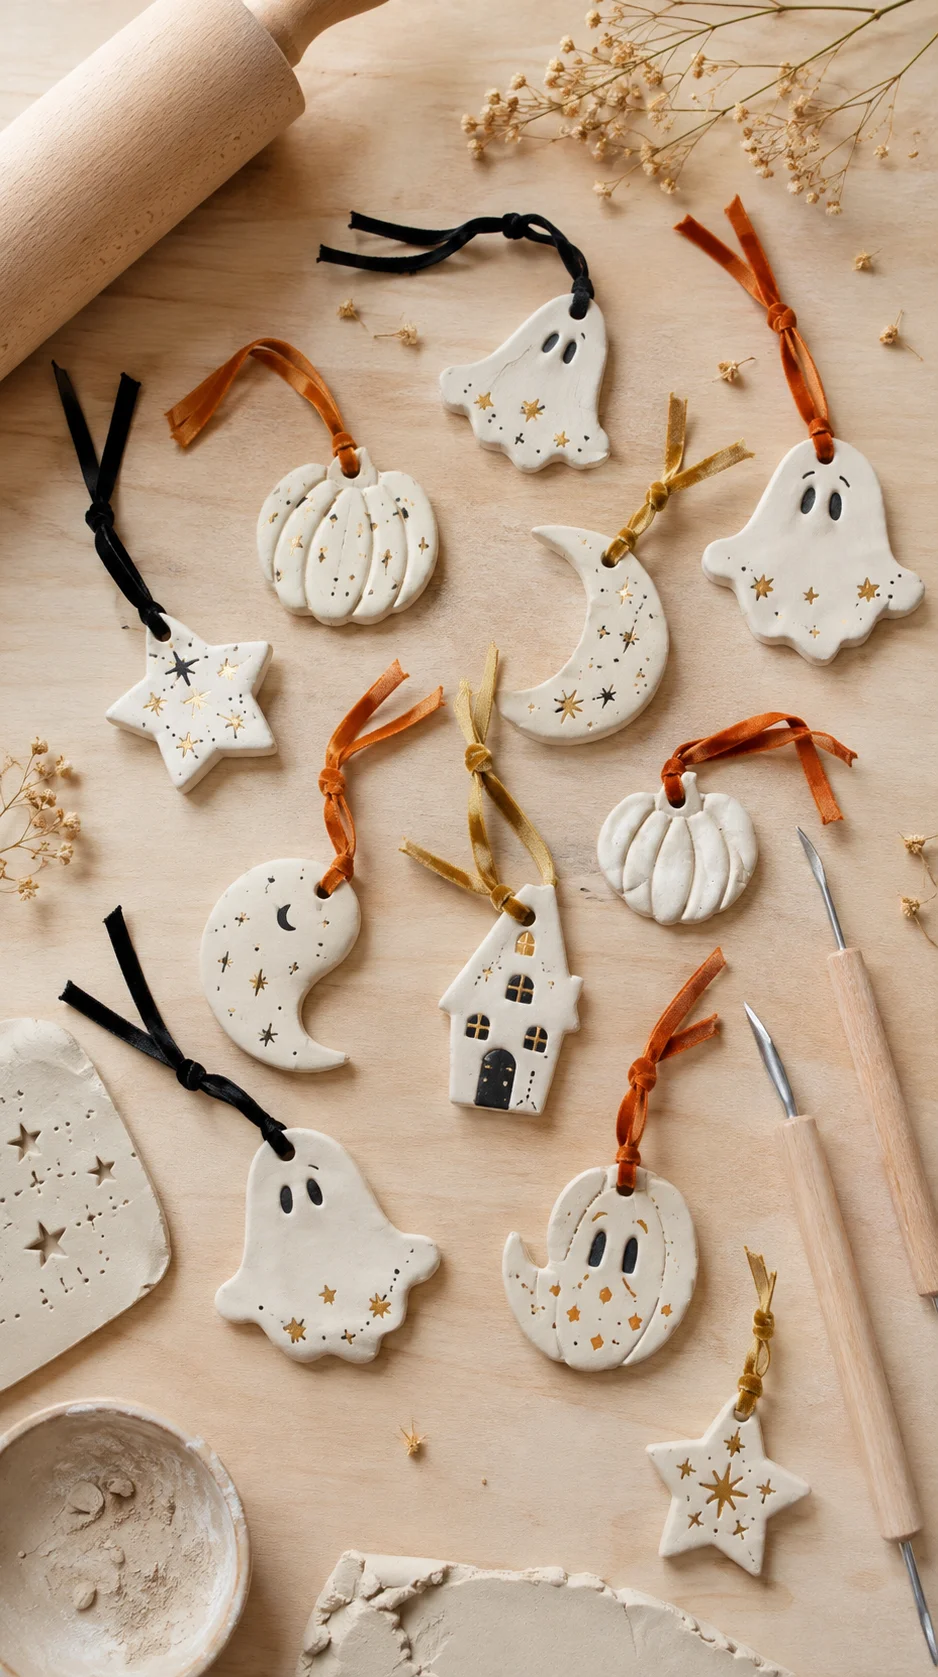
Once completely dry, sand rough edges and add a small amount of paint. Use the finished ornaments on branches, gift packages, napkin rings, garlands, baskets, or cabinet knobs.
12Paint a Set of Ghost Coasters
Paint small white ghosts, black cats, moons, mushrooms, or pumpkins on unfinished wood, cork, or ceramic coaster blanks. Use one background color across the complete set so different illustrations still look coordinated.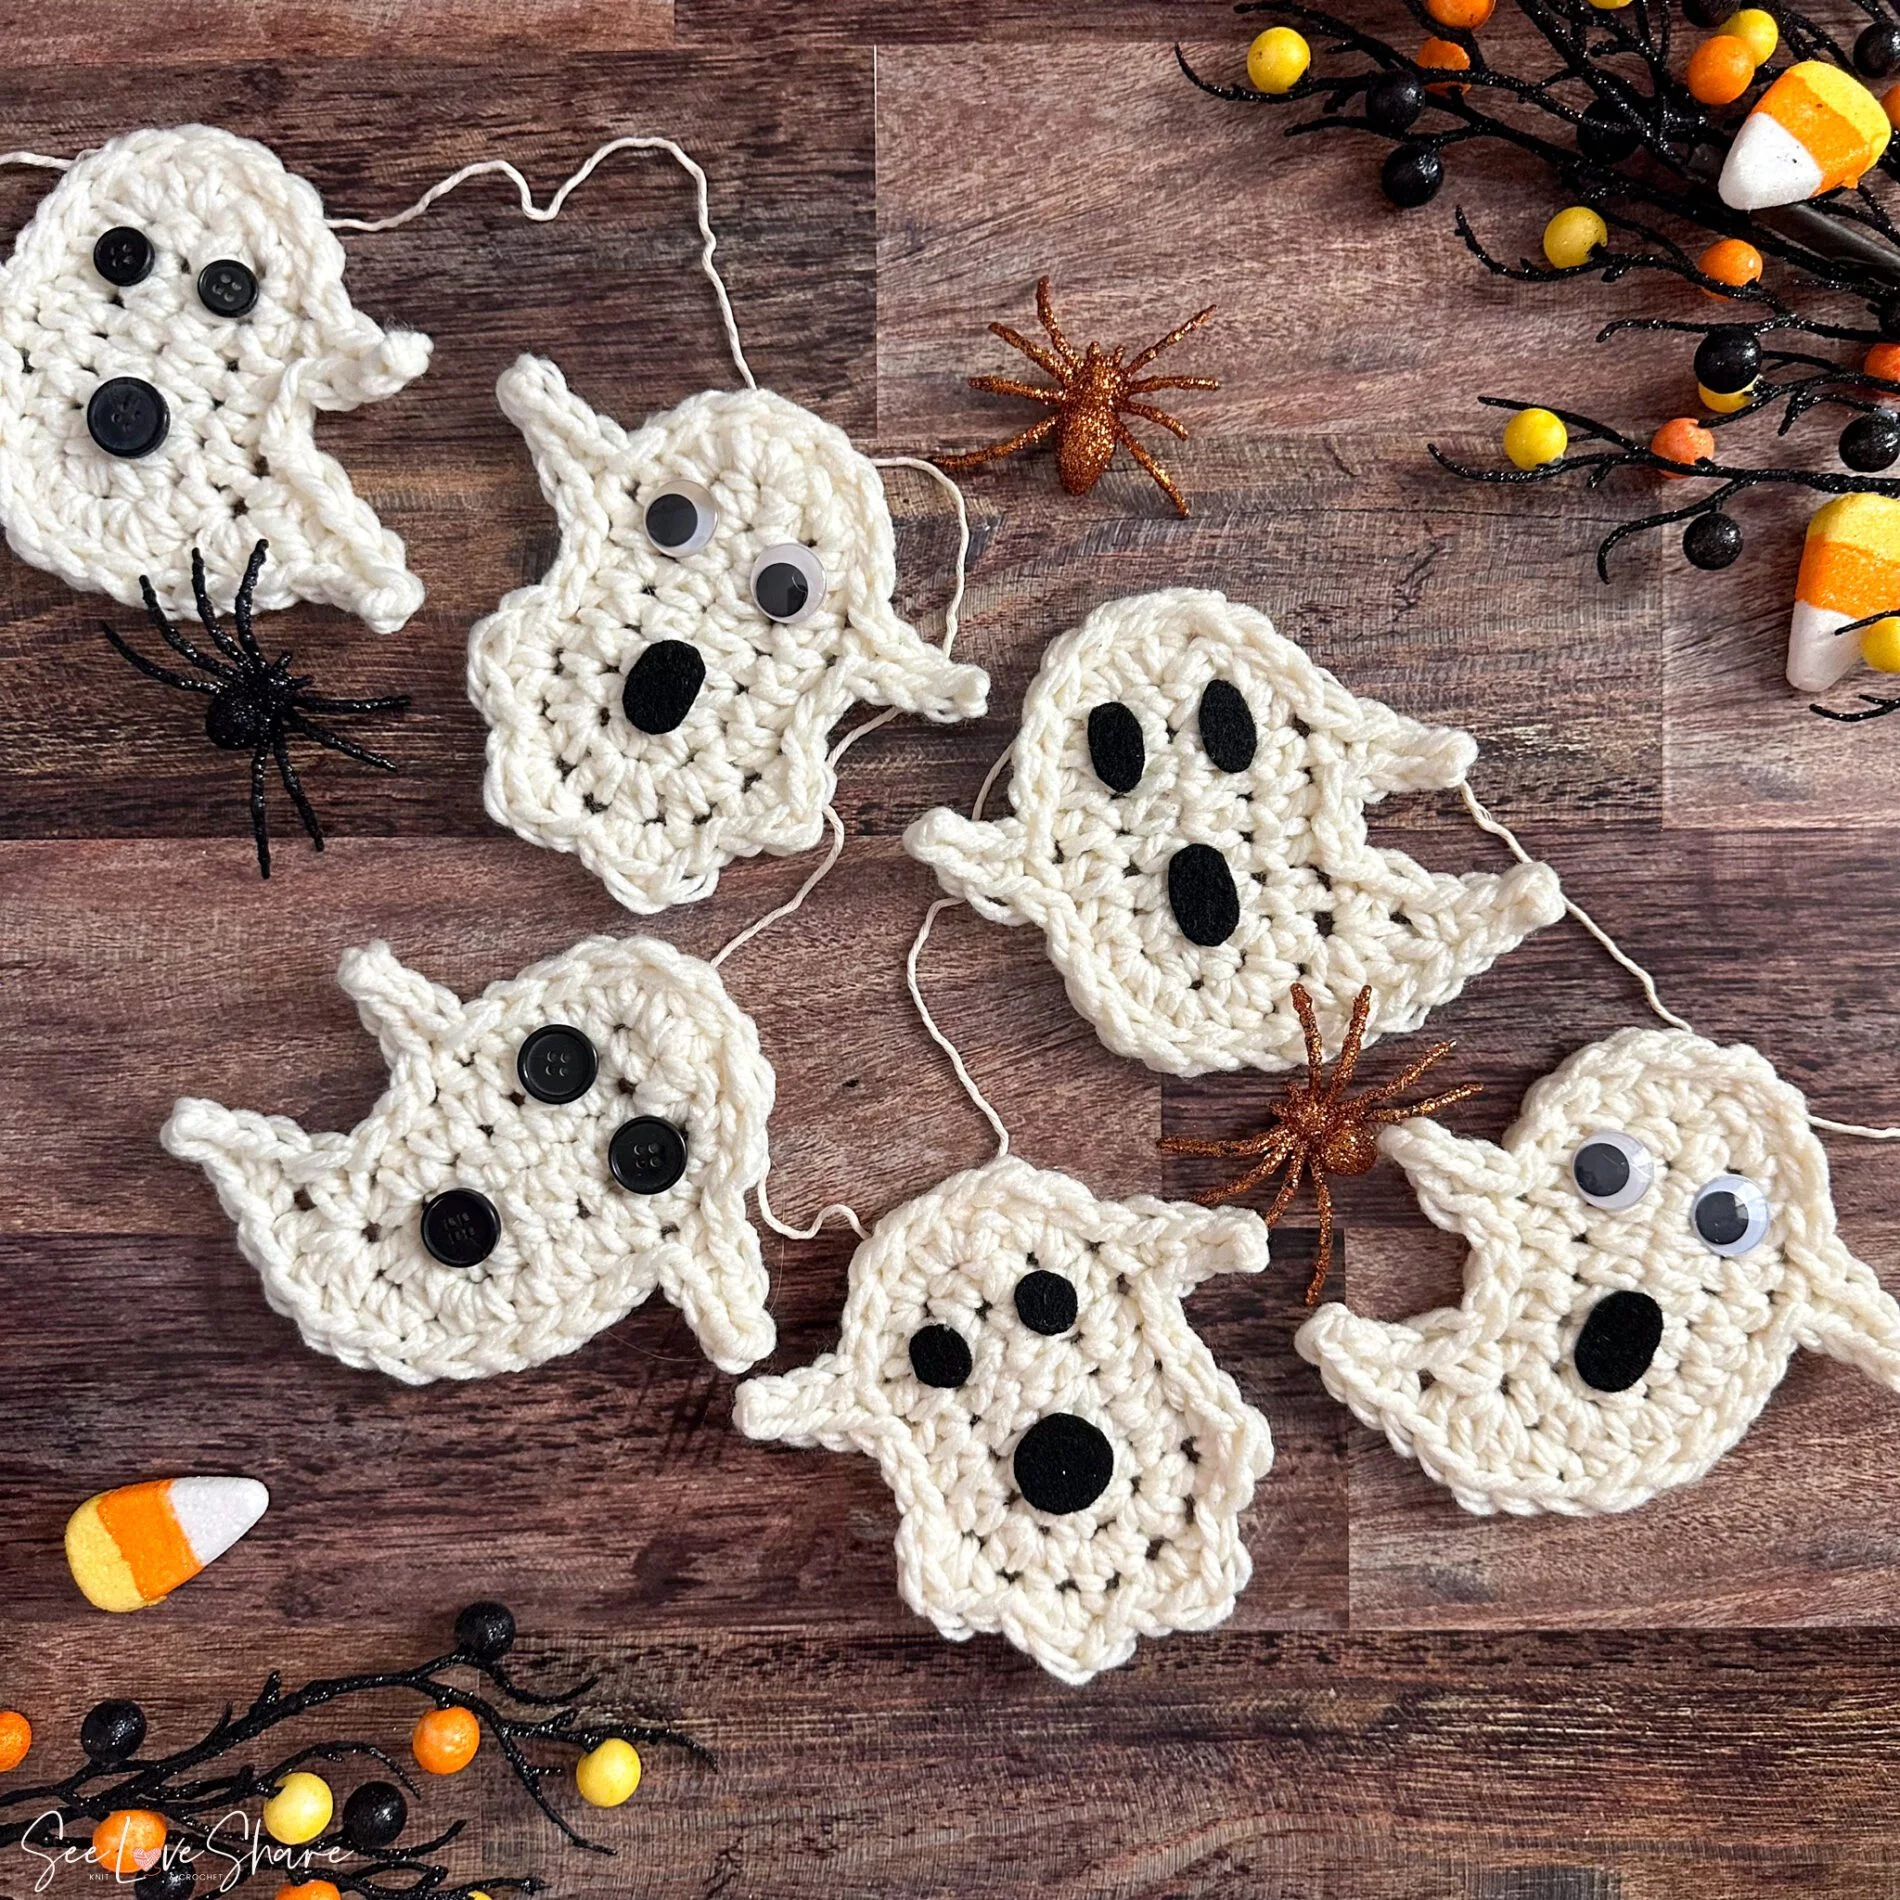
Allow the paint to dry fully, then apply a suitable clear sealer if the coasters will be used with drinks. Add felt or cork pads beneath hard coaster blanks to protect the tabletop from scratches.
Amazon find: Unfinished Wood Coaster Blanks
Plain wood rounds provide a smooth, manageable surface for painting small Halloween designs during an adult craft night.
13Tie Soft Fabric Ghost Dolls
Place a small amount of stuffing or a lightweight foam ball in the center of a fabric square. Gather the fabric beneath the head, secure it with twine or ribbon, and draw or stitch two small eyes.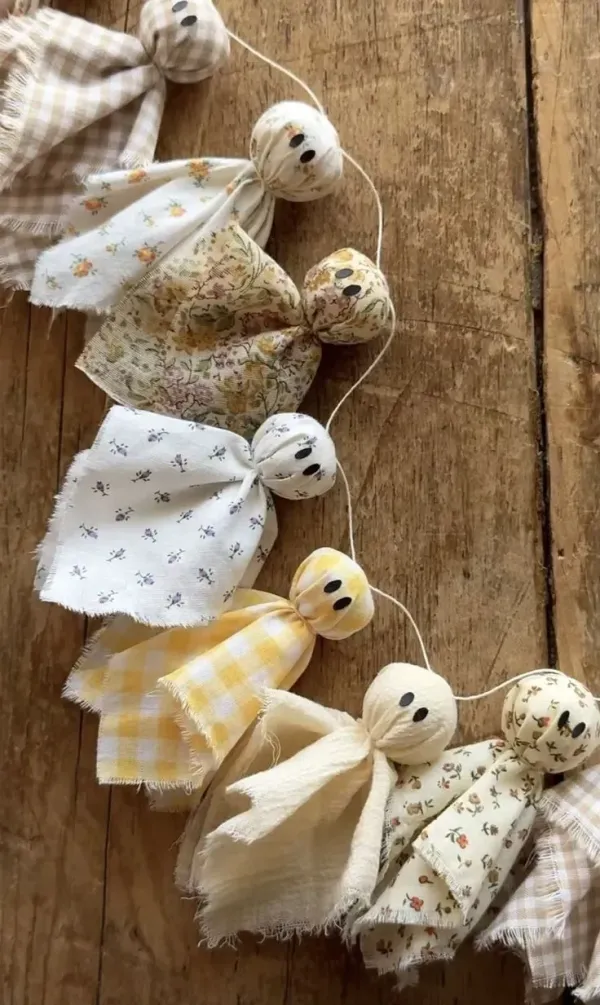
Use linen, muslin, gingham, or subtle floral scraps to create a group of ghosts with different personalities. Sit them in a basket, hang them as ornaments, or attach several to string for a soft fabric garland.
14Weave a Yarn Spider Web Arrangement
Join three or four small branches at the center to create a simple frame. Wrap white, cream, or black yarn around the branches, moving outward in loose circles to form a handmade spider web.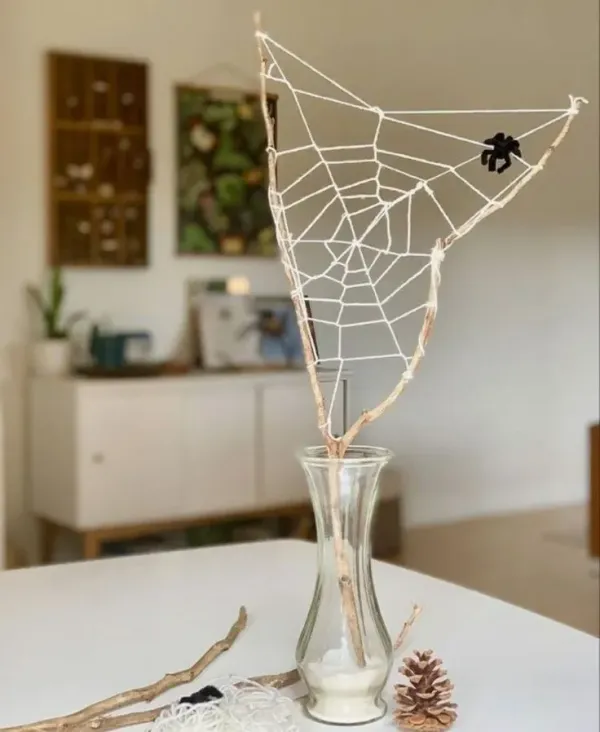
Add one small spider and place the branch web in a heavy vase or hang it securely on the wall. Keep the web slightly uneven because an imperfect shape gives the craft more character and makes it look naturally spun.
How to Make Halloween Crafts Look More Expensive
Start by preparing every surface properly. Sand unfinished wood, iron wrinkled fabric, remove loose glue strings, and apply additional coats of paint where the base material shows through. Clean finishing can make even dollar-store supplies look more polished.
Use fewer embellishments and choose larger details. One velvet bow, aged frame, wood bead, or piece of textured fabric usually looks more intentional than several small plastic decorations.
Display handmade pieces with regular home decor. A rope ghost looks more stylish beside books and pottery, while fabric pumpkins appear more substantial when grouped in a wood bowl instead of scattered across several surfaces.
The 70–20–10 Styling Rule
Let a neutral color cover about 70% of the project, use a Halloween color for 20%, and reserve the final 10% for a contrasting detail such as black ribbon, metallic paint, or a small patterned accent.
Best Color Palettes for Cute Halloween Crafts
Black, burnt orange, warm white, brown, and aged brass
Cream, tan, soft gray, matte black, and natural wood
Blush pink, dusty rose, black, white, and soft orange
Olive green, moss, terracotta, charcoal, and antique gold
Lavender, pale orange, mint, black, and creamy white
Common Crafting Mistakes and Safety Tips
- Buying supplies before choosing a palette: Plan the colors first so you do not end up with unrelated materials that are difficult to style together.
- Adding too many small embellishments: Leave some open space and let one textured material or bold shape become the main feature.
- Skipping surface preparation: Clean jars, sand rough wood, press fabric, and remove dust before applying paint or glue.
- Using real flames near crafts: Choose battery-operated candles around paper, felt, yarn, gauze, dried branches, and glue.
- Using hot glue carelessly: Work on a protected surface, keep fingers away from hot adhesive, and unplug the glue gun when finished.
- Displaying indoor crafts outside: Paper, yarn, felt, and untreated wood should remain indoors or in a dry covered location.
- Leaving loose cords or small parts accessible: Keep craft decorations away from young children and pets when they contain string, beads, wire, or detachable pieces.
- Making every project at once: Choose two or three crafts that work together and display them as a coordinated group.
Frequently Asked Questions
What are the easiest Halloween crafts for adults?
Paper bat branches, framed ghost art, fabric ghost dolls, and felt garlands are among the easiest options. They require only basic cutting, painting, or tying and can usually be completed without advanced crafting skills.
How can I make Halloween crafts look less childish?
Use a limited palette, avoid excessive glitter and plastic embellishments, and choose textured materials such as linen, clay, wood, velvet, and cotton cord. Simple faces and clean finishing will also make the completed crafts feel more polished.
Which Halloween crafts are good for a craft night?
Painted coasters, framed ghost art, clay ornaments, rope ghosts, and fabric pumpkins are good group projects. Prepare individual supply kits before guests arrive so everyone has the basic materials needed to complete a project.
Can these Halloween crafts be reused next year?
Most of them can be reused when stored correctly. Place dry, clean decorations in labeled containers, keep delicate items separated with tissue paper, and avoid storing fabric or paper crafts in damp areas.
How early should I start making Halloween decorations?
Begin crafting in late August or September if you want several projects ready for October. Starting early gives paint, clay, glue, and sealers enough time to dry and lets you complete each craft without rushing.
Final Thoughts
Cute Halloween crafts for adults can add personality to your seasonal decor without making your home feel cluttered or overly spooky. Simple ghost shapes, warm colors, and textured materials are often enough to create decorations you will genuinely enjoy displaying.
Begin with one manageable project, such as framed ghost art, a felt garland, or painted coasters. Once you choose a consistent color palette, you can add a second or third craft that coordinates with the first.
Whether you are decorating a mantel, preparing for a Halloween party, or planning a cozy craft night with friends, these handmade ideas offer an affordable and creative way to celebrate the season.